Showing posts with label Bretonnians. Show all posts

Tuesday 27 March 2012

More Damels and ladies

Hurray, my ebay stuff arrived today!!

They are from Reaper miniatures :

These 2 minis are Hannah Blackruby, Wizard 03329 and Tinley,Female Wizard 03563
both will work as Bretonnian Damsels for my Bretonnian army !

They produce some of the best minis at affordable prices, and the range allow you to mix and match if you are not too bothered about it or going to sanctioned tournaments!

Looking forward to have them painted !~

Meanwhile, my bretonnian army WIP. They are about 40 percent painted and largely still in progress.


My trebuchet and Chimera are amongst it !


Monday 26 March 2012

Defensive Stakes

De Rochefort's article on defensive stakes at the Round Table of Bretonnia is soo cool that I have to have a go at it ! My old edition Bretonnian archers would need them as they dont come with it....so DIY away!


First off, some disposable chopsticks! These are easily availble but some twigs or dowel wood would do just fine! Some chains and some balsa 20mm wide balsa wood strips.

They are cut to appropriate length:


From this point onwards, I used a hotglue gun instead, including making the metal bands connecting to the chains! Its pretty crude compared to De Rochefort's lol..


As hotglue are no known for being v "sticky" or strong in their bond, I smeared it all over the place and interconnect the glue like "roots" to the stakes [see above] so that the contact is stronger.

PAINTING :
  • The whole thing is brush painted with black as primer.
  • The stakes are simply painted with any wood color and the sharp point bonewhite.
  • The metal band and chains are drybrushed with boltgun metal.
The "metal bands" connecting the chains are a bit crude and too thick in the beginning, but after getting used to controlling the flow of the hotglue, I quickly apply thin amounts consistently to more resemble metal rings.


And three more I have four now!  I hotglue some rocks, smear the base with watered down PVA, add sand and its done! Now waiting for the PVA to dry, and apply one more layer to strengthen it.

Oh, in case you wonder, below are the case file of Vallejo paints I have..very great paints!

Sunday 25 March 2012

Trebuchet

My Bretonnians need a trebuchet [actually 2, lets see I can muster enough determination to build another!], but the official one is expensive, and as I have many bits and plastics lying around, might as well build one!~

Any seasoned Bretonnian players should be familar with
http://www.roundtable-bretonnia.org/index.php?option=com_frontpage&Itemid=1

A fantastic site where all the knights and generals of Bretonnia gather and discuss tactics, modelling and everything Bretonnian !

As I scoured through the postings, some of the dudes there have made their own trebuchets from scratch and even cast them !

Rafael de Bois et Guilbert (Rafael) 's trebuchet

So, first of, I have some square rods lined up according :


The square rods are cutted up and glued, with a thin strip of plastic glue in between the rods with two studs to resemble metal works with bolt-ons.


 Two were made.Make sure the dimensions are the same so they can fit later.

The counter-weight are made from light weight foam! They are about 1cm thick so two pieces are glued together with PVA and cut to good shape.

Some spare foam are cut to be glued to the base later to resemble rocks [ammo] lying around for ye peasants to load them into the trebuchet. The "leather" rock holder is from a thick card, later to be soften with wet PVA.

The main pole was from a disposable chopstick, with a bit of a jeweller's chains attached by hanging a paperclip to it. The counter-weight "rock" are glued with 2 strips of cardboard from those postcards.

A shield shape was cutted from those free postcards and glued to the rock counter-weight too.


The rope were some kite strings but it wasn't thick enough! So I twist 2 strings together by using a drill gun, but before that, I wet them with PVA glue so they'll stick togther!


After assembling all the pieces together:


It was quickly brushed with black acrylic as a primer, then painted up !

The finished product :


Onwards to lobbing rocks at the enemy !!

Chimera on the Cheap

While shopping, I came across this pack of cheap plastic animals :

Something tells me this is dying to be converted, and I remember my Bretonnian damsels might just need a Chimera for the Lore of Beasts spell when they cast Transformation of Kadon...hell, you might just need it for a DnD game!

So off we go!

The Chimera is supposed to have a lion head, a goat and a dragon, so I google the web for some pic reference besides the one in the GW website, one of the pics :


(picture from http://iamaguardian.com/310/panels-look-at-genetic-engineering-of-%E2%80%9Cchimeras%E2%80%9D-in-uk-and-germany/)

The pack does'nt have a dragon's head! So how?? You can either substitute it with a dragon head bit you can find on ebay, or any dragon toy figure of appropriate size, but with the art of poorhammer, I used the Rhino head that came with it LOL...


They are then pinned and hotglued to the lion's body.
The material is a little bit of a softplastic, so you can drill and pin it with paperclip easily.
Make sure the hotglue is hot [!] so the plastic will melt properly and glue to the surface, and any gaps are also filled with hotglue. You can do it with greenstuff  if you happened to have some lying around. Hotglue works fine too.

A part of spare wings I got from ebay from some abandoned project was added to the body, again by pinning.


It is then hotglued to a 50mmx100mm plasticard base, with 2 dressmakers pins drilled up from the bottom of the base thru 2 of the chimera's legs to make sure its tought enough to withstanding some rough handling when playing on the gameboard [IF I ever get to play]

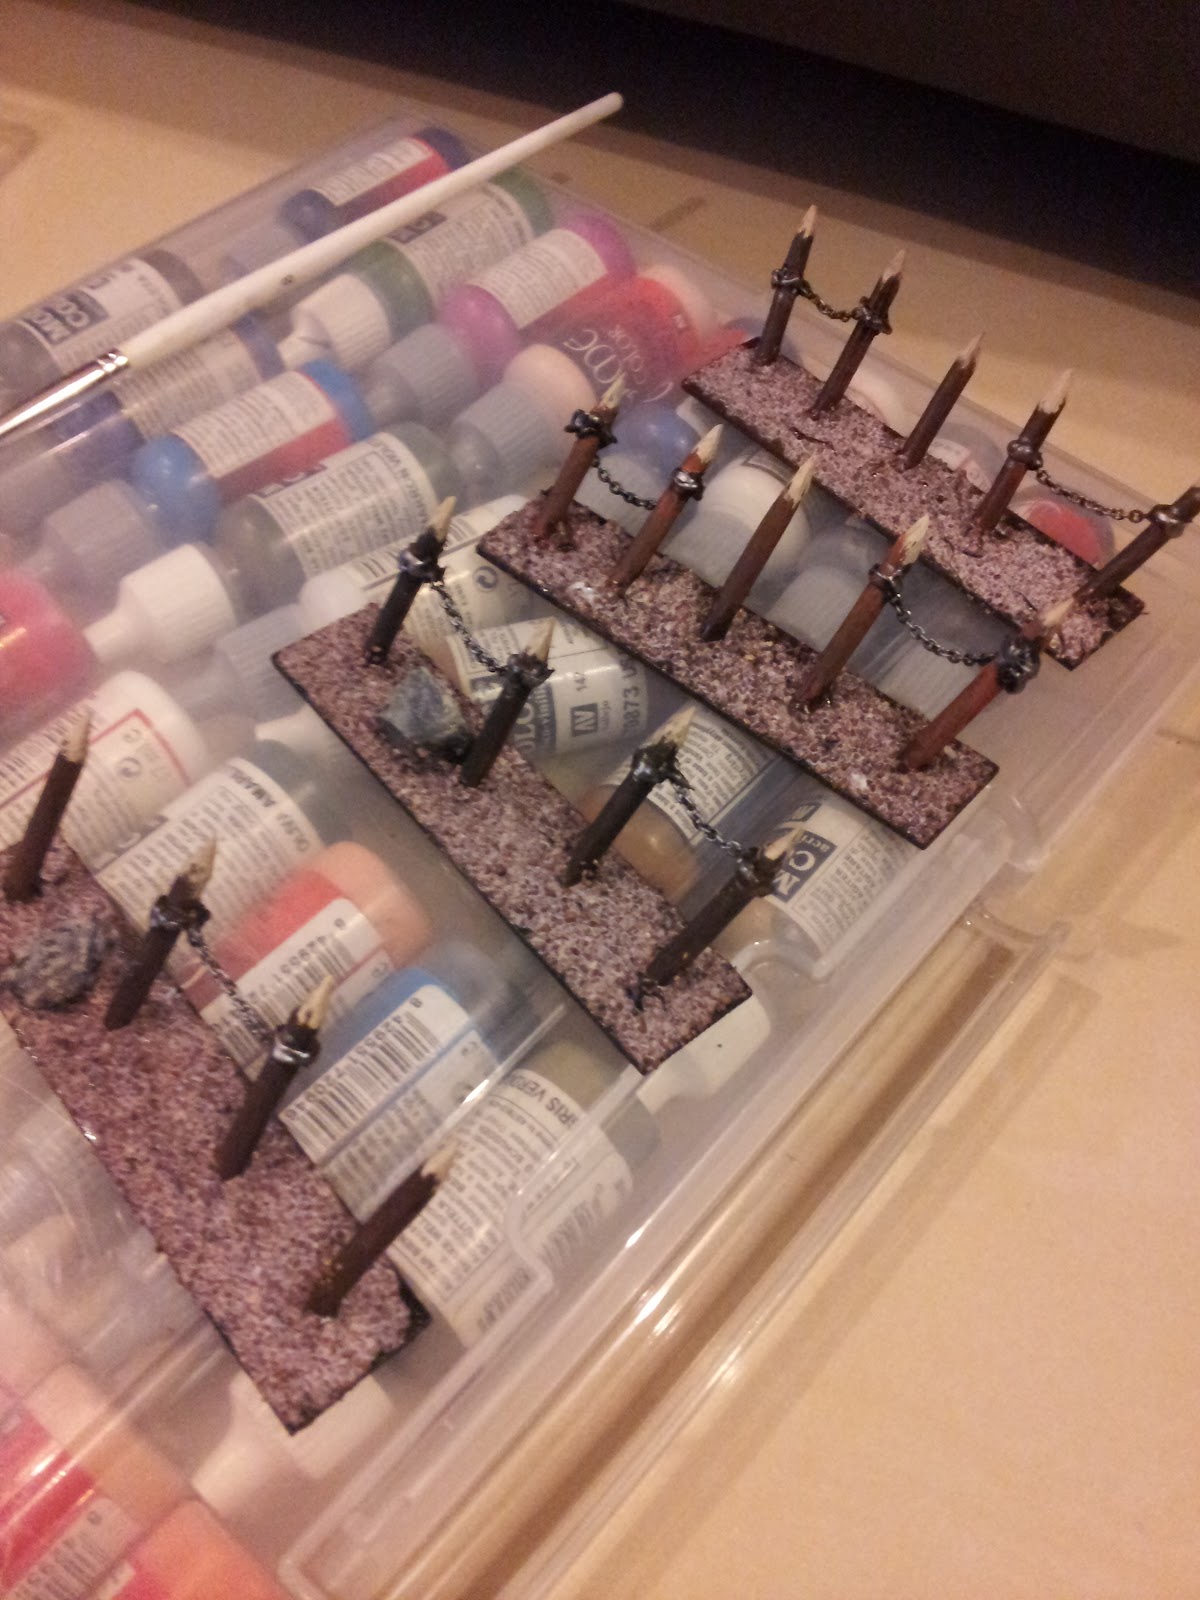
The horns of the goat and rhino were sharpened by carefully carving it with my trusty knife. It is then brushed primed black with cheap acrylics :


They are then painted with Vallejo's paints and a layer of white wood working glue [or PVA glue] is smear onto the base, then added basing sand from armypainter [brown battleground] or you can use fine sand or cat litter. Give it another coat of watered-down PVA glue after it dries to ensure the sand doesn't fall off easily. You can add flock or bigger stones for better effect.
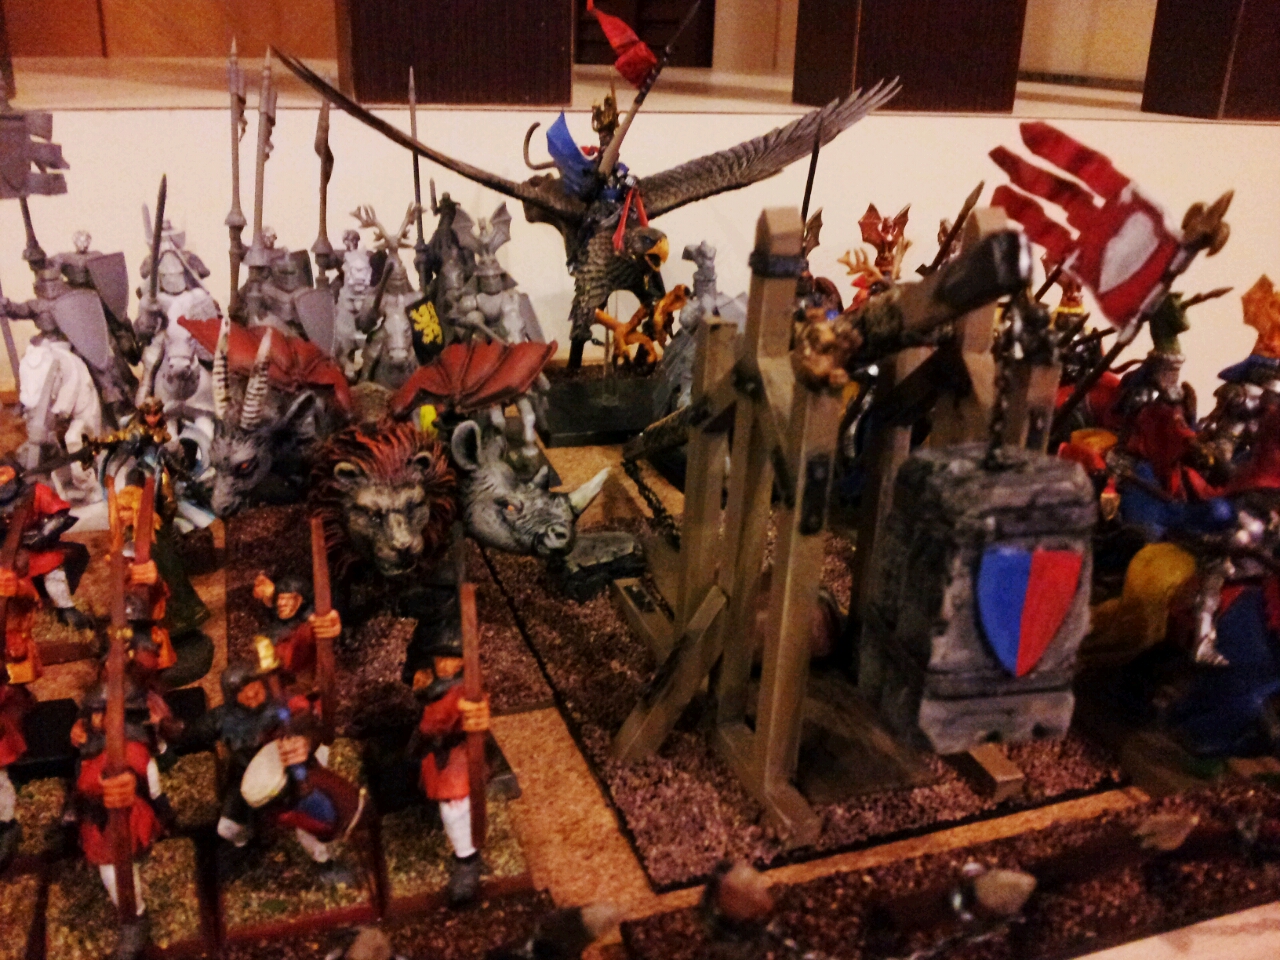
The completed work:


Done! The cheap-mira! HAHAH I think it's pronounced "Kai-me-rah" lol..

Thanks for viewing.