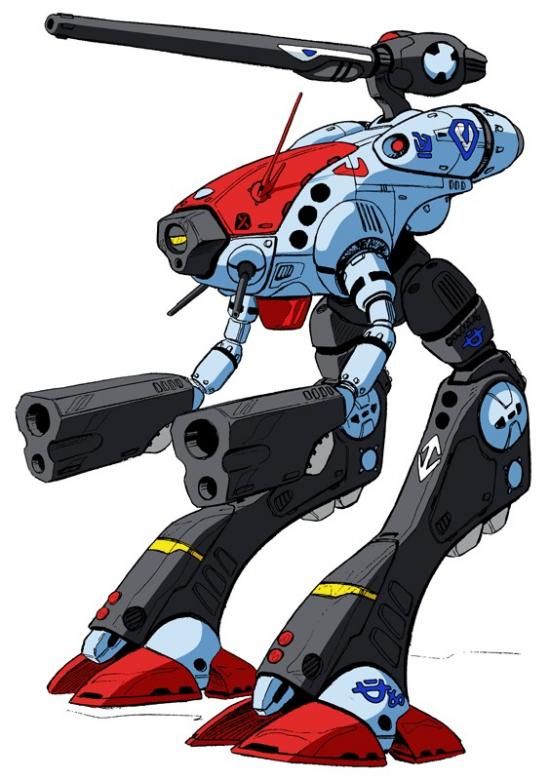
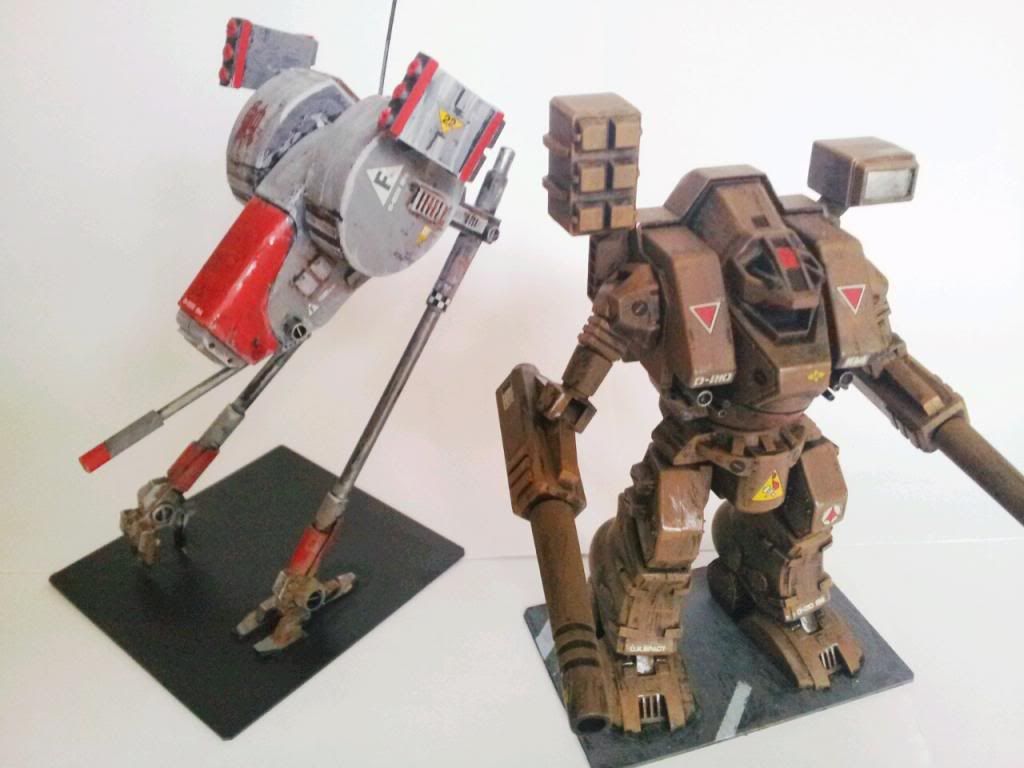
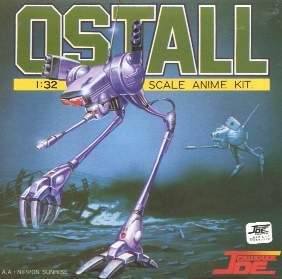
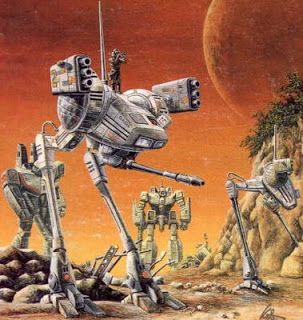
The Locust mech has got to be one of my favourite mechs since the birth of Battletech!
"Borrowed" from Joe Crusher, this mech, originally called the Ostall, became one of the "Unseens", which I believe those diehard mecha-heads will have no problems knowing what is it all about! Was there a popular Battletech novel wrote about some Locust mech pilot's adventures? Hmmm.....
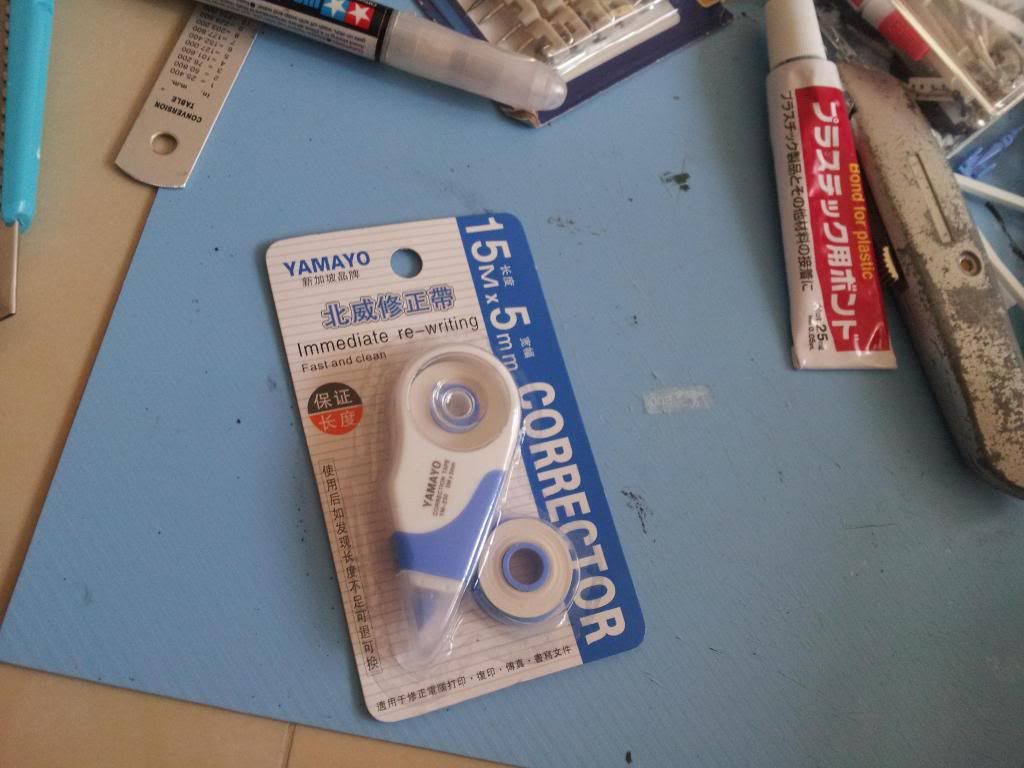
Anyway, I was looking at this correction-tape dispenser the other day and the more I look at it, the more it is screaming in my head :" USE ME ! I AM YOUR DESTINY OF A MECH!"
At a dollar each, failing is a bloody option...
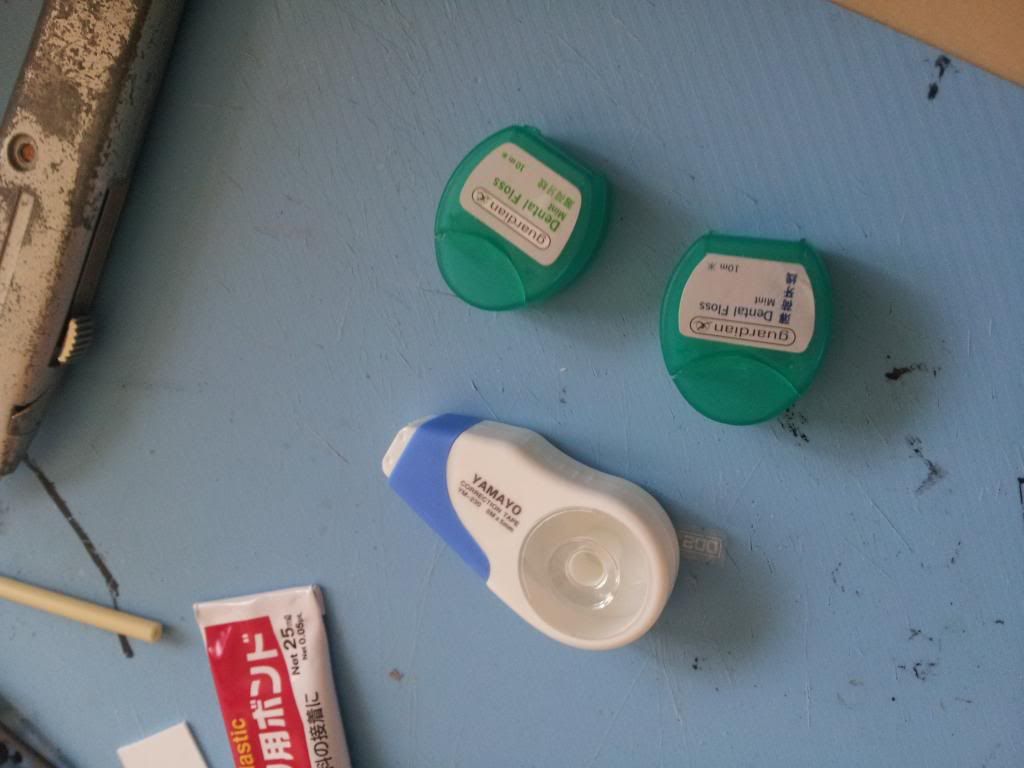
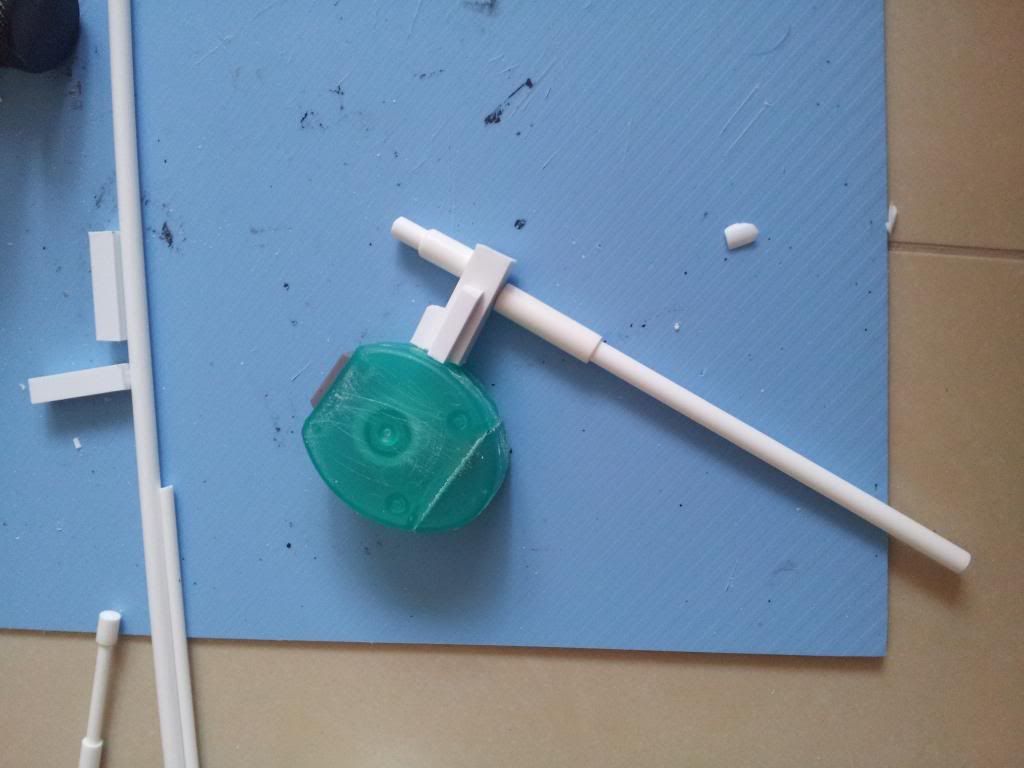
And then there was 2 empty dental floss dispensers (I have good oral hygiene...lol) from my bitz box:
... and adding all the parts together, they seem alright and asking for a challenge to my somewhat mediocre scratchbuilding skills..so here it goes!
PREPARATION:
Keyword : Research, research, research. Look at pics. Lots of pics. Make sketches, think how some common parts you see daily can come together, etc HELPS A LOT.
EQUIPMENT :
I think any modellers / scratchbuilders will have all the common equipment here: plastic glue, cutters, files, bits, paperclips (for pinning), pliers, scissors, pipcutter, plastic pipes, rods, etc of various sizes... and the trusty hand drill with various bits for pinning, drilling holes.
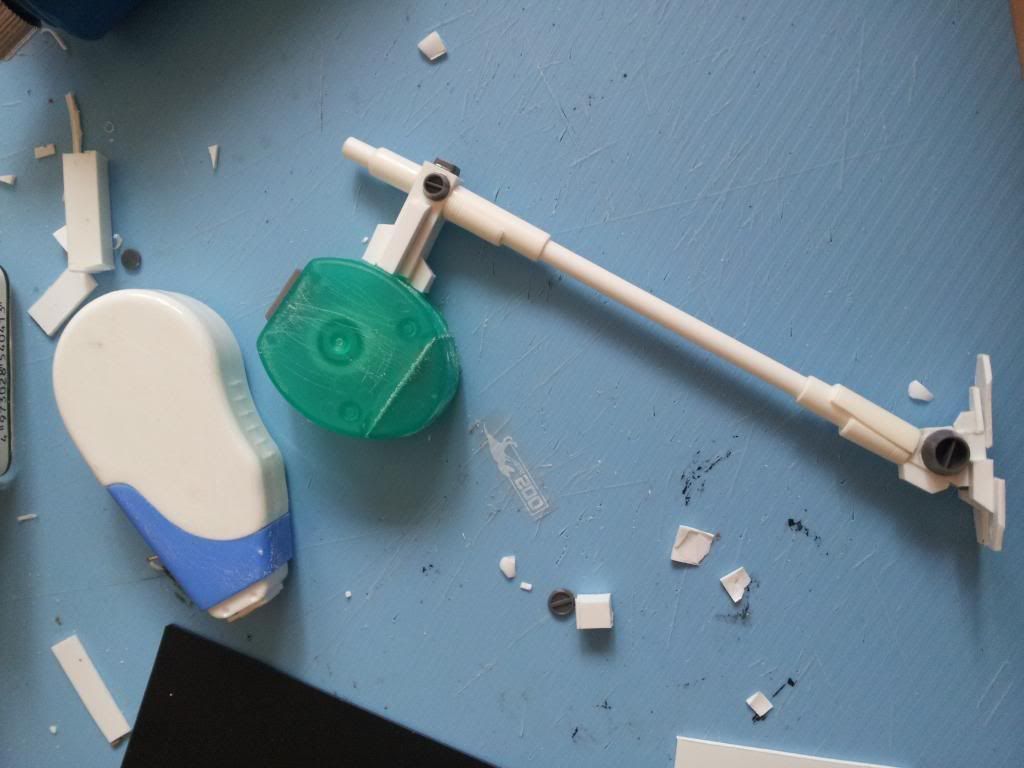
Some preparation work is needed, you need to sandpaper or file the plastic surface so paint / glue will stick better and Pinning always helps!
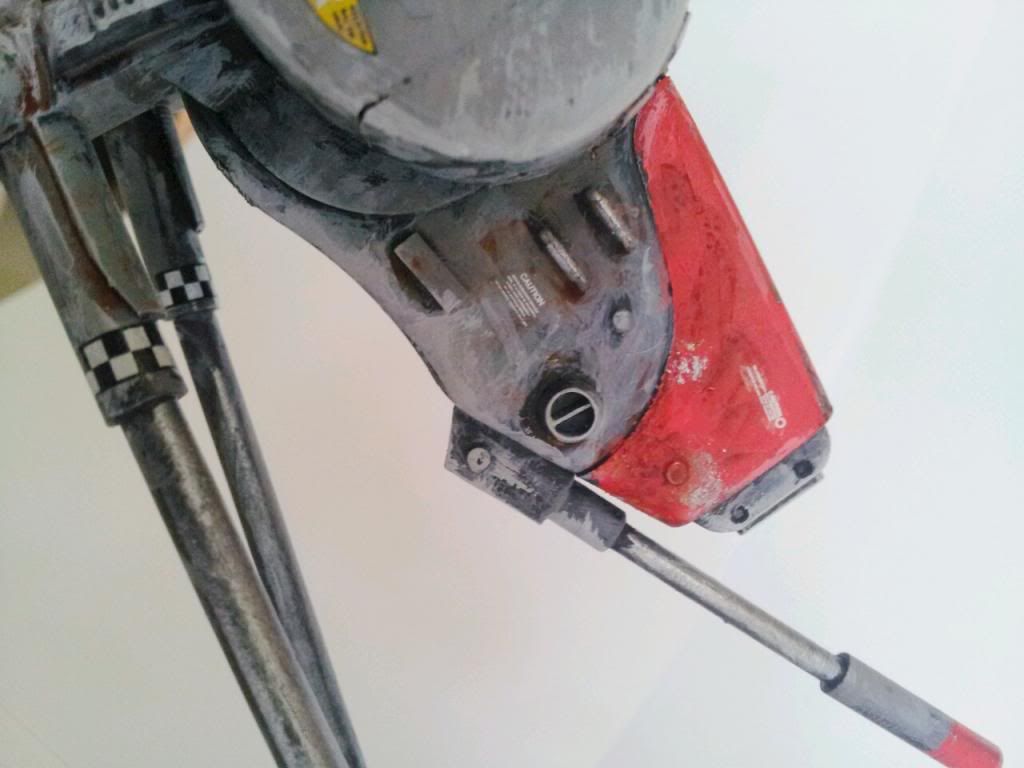
Some plastic rod were pinned and glued to the dental floss containers:
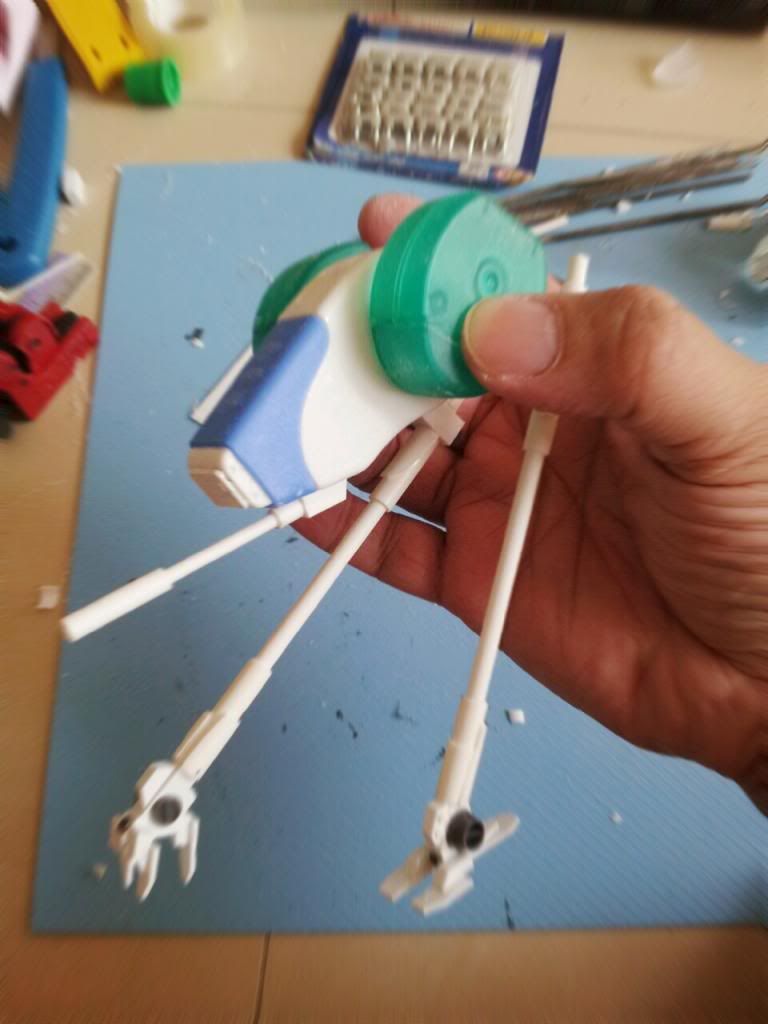
One thing learnt is measuring helps! This ensure when you are building the other side [Right and Left] are consistent...
I was pretty random at this point onwards, from the legs, I added a piece here, a bit there...hoping the overall feel resembles the real deal...If I were to build another, the joints could have been thicker..so...
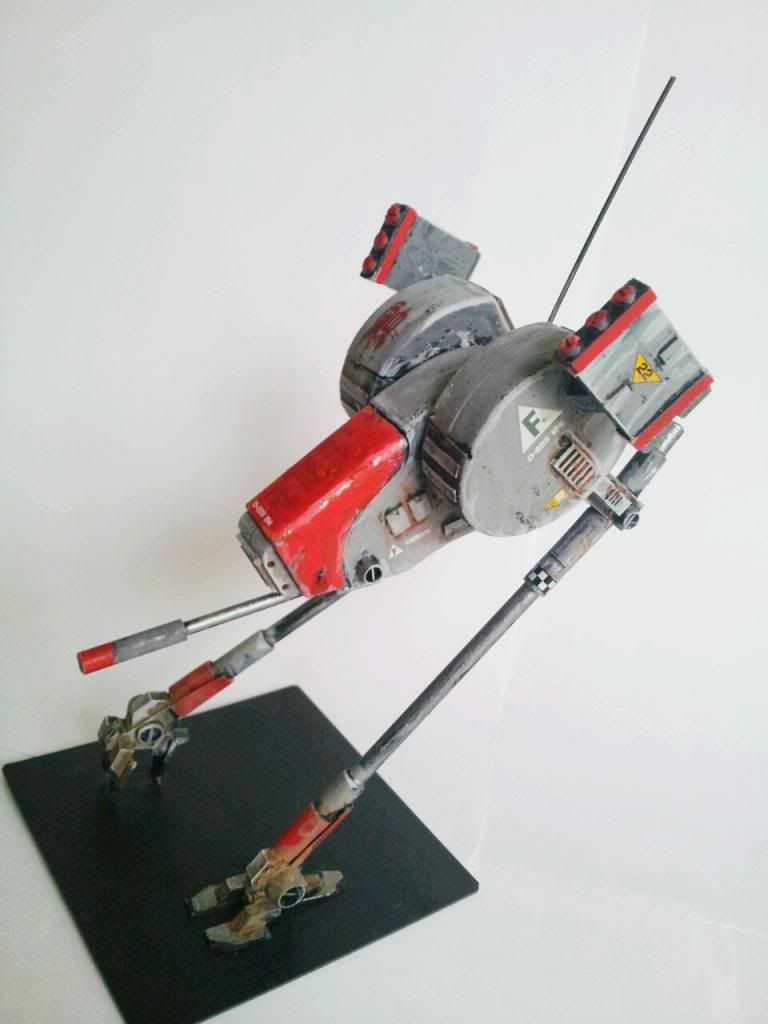
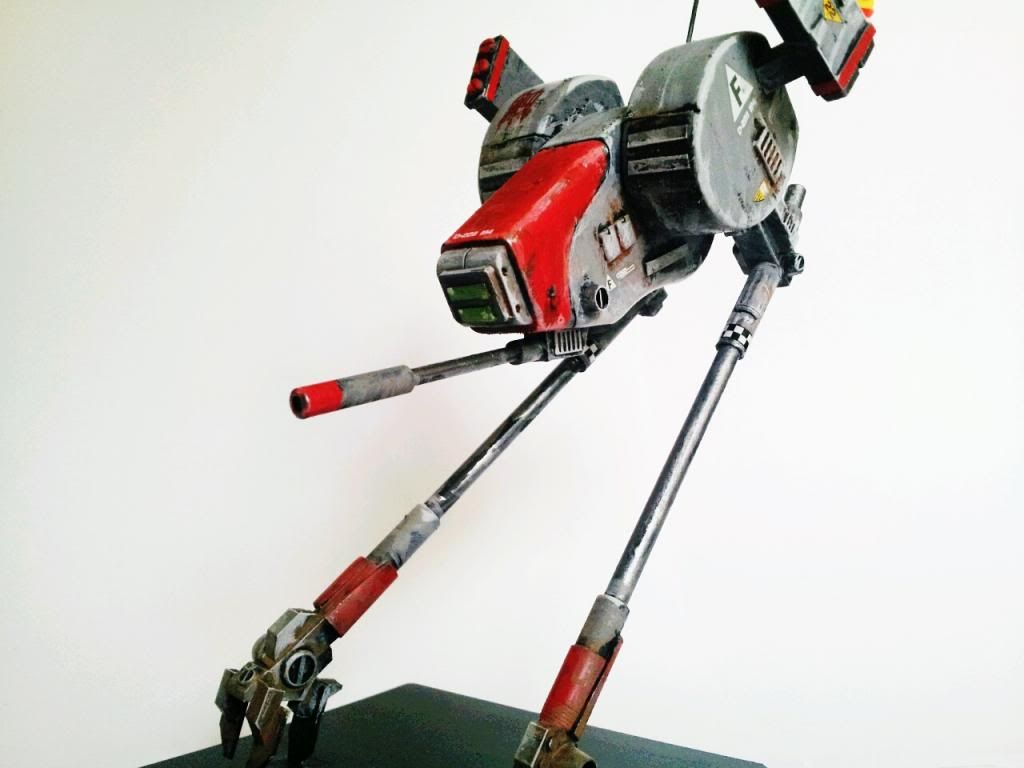
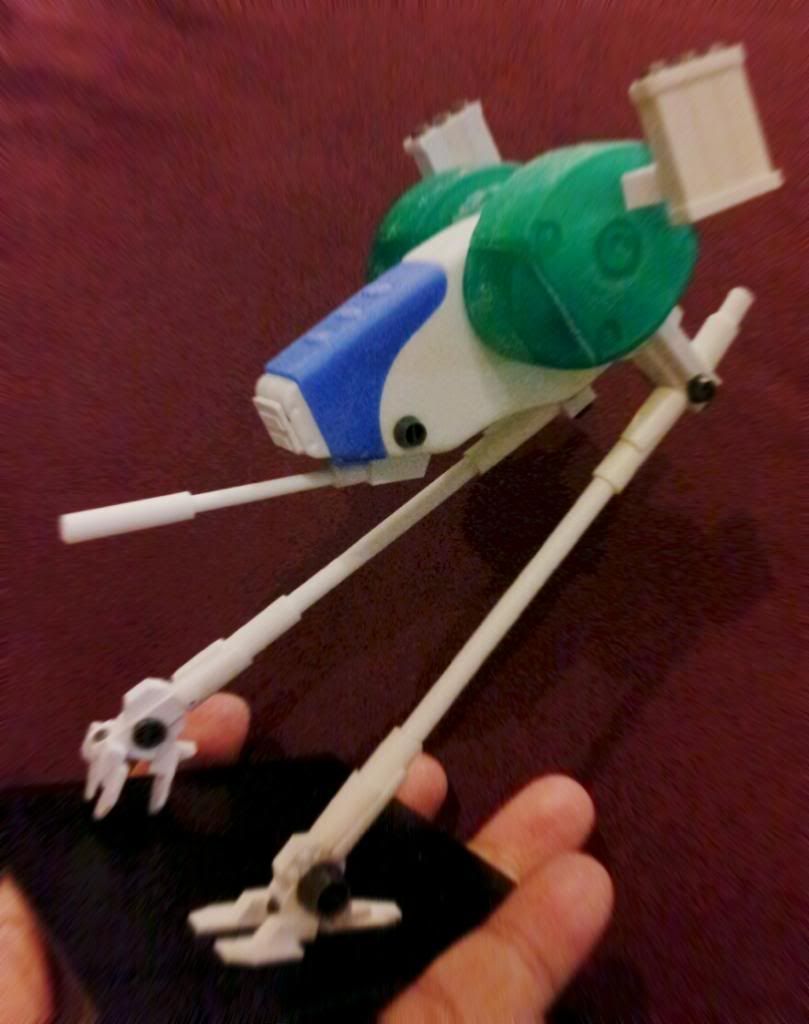
After I got all the important parts, I hold them together for a dry fit, this part is necessary as you get a rough guide on how the overall mech will look like and I wanted it to be able to stand ON ONE LEG just like the one in the classic pic!
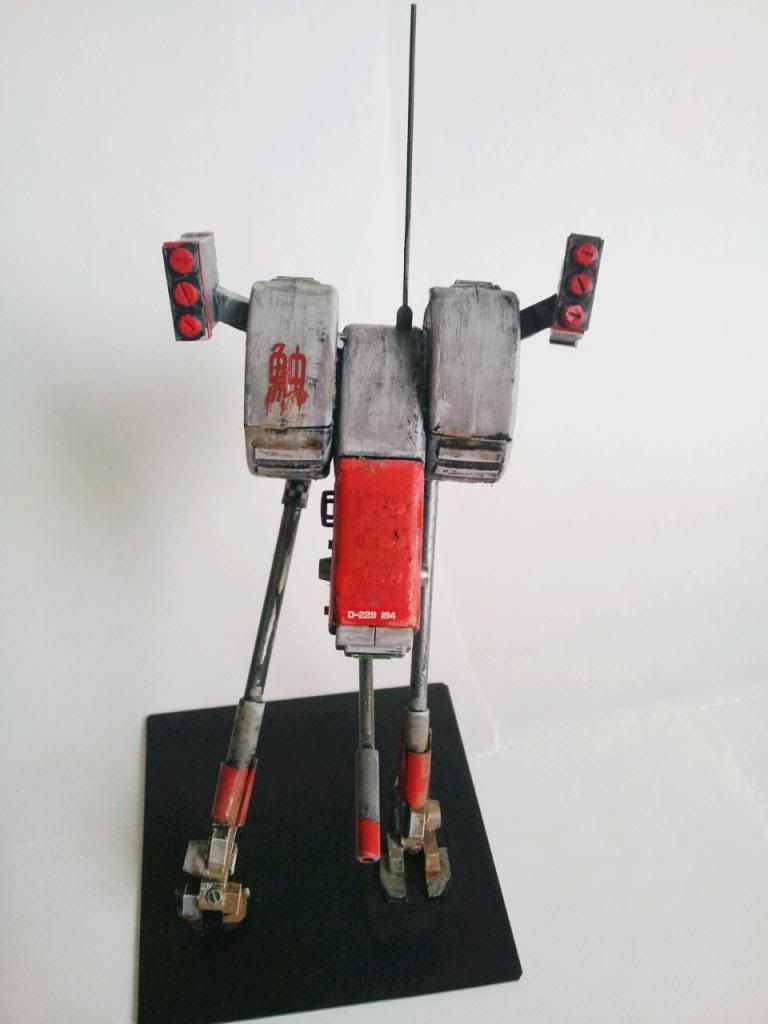
What the hell was I thinking?! So I shifted the weight here and there, added 2 rocket launchers to each side. Then I glue all the parts together and glue it on a square, 1mm plastic base, and.....
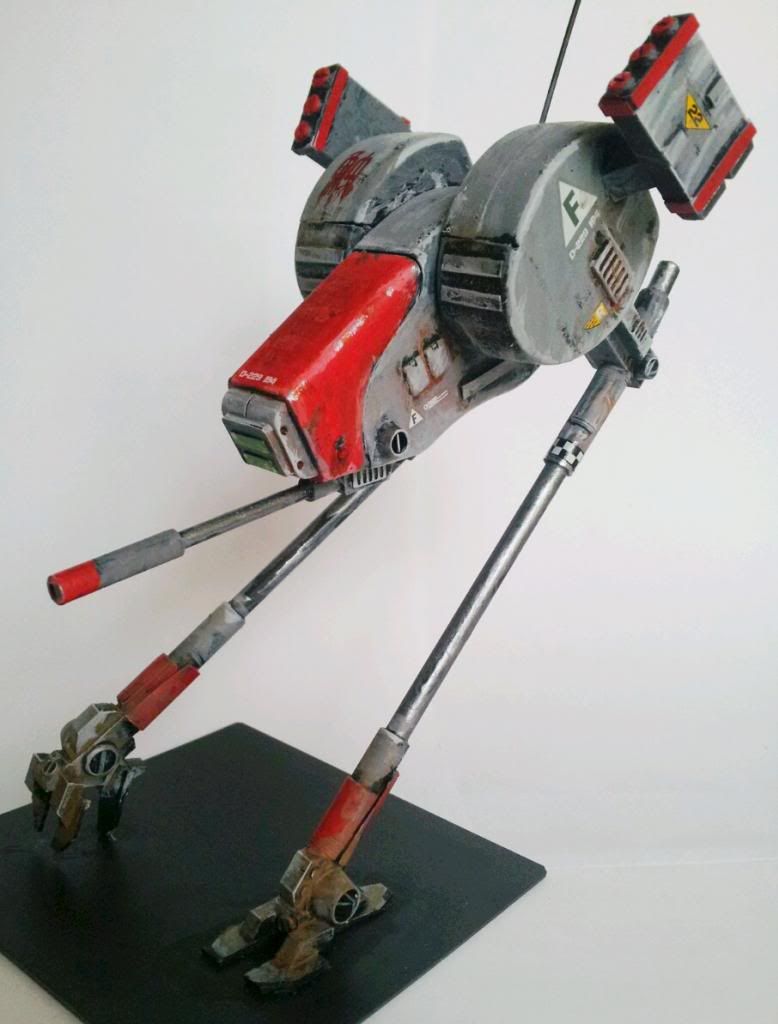
TADA! It actually balances! PHEW! The left foot was glued to a square black plastic base while the right foot claw's back claw was only touching it, so I added a dab of glue to adhere it to the base too, so the weight distribution is better.
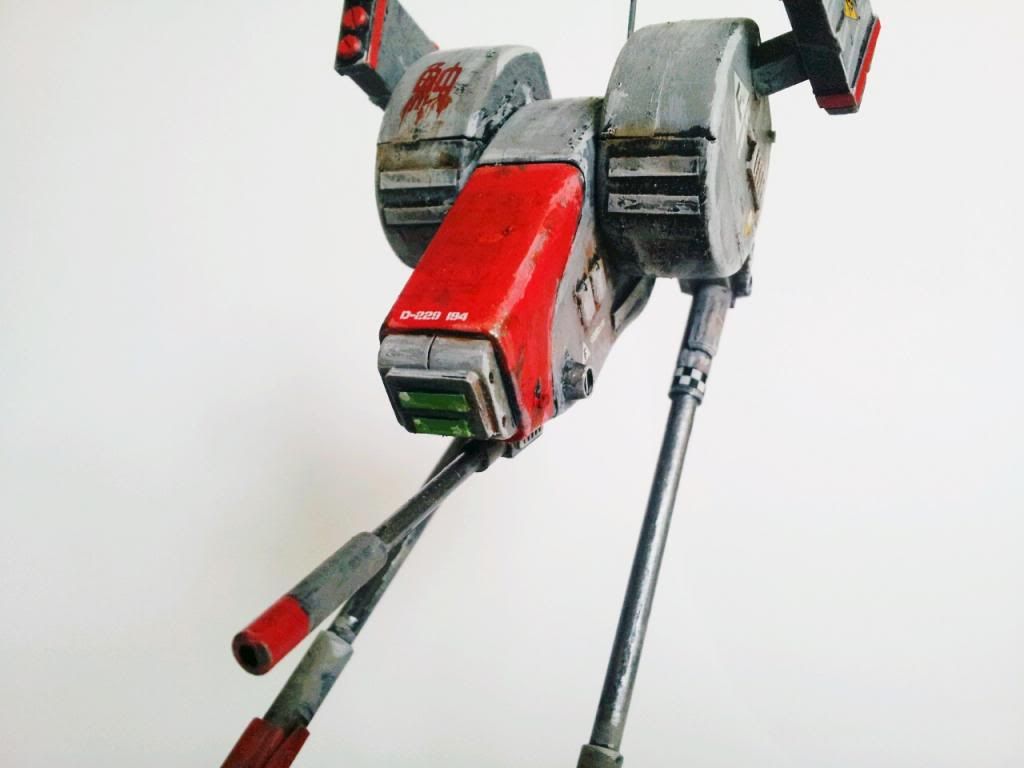
This didnt really look 100 % like the original, but I was glad it's pretty close...
Onwards to adding small details, undercoating and paint later !
Thanks for viewing!
TO BE CONTINUED
Update: it is painted and done! Would you like to know more?