Showing posts with label Scratchbuilt. Show all posts

Friday 28 March 2014

DIS ONE IS FER DA FLY BOYZ! DAKKADAKKAJET!

I've always toyed at this idea I could build a respectable Ork Fighta that any Ork Ace would want to fly in, and with all the fighter jet kits cheaper and at a fraction, I can't help but just have a go at this!

The end result, I believe, is the Dakkajet I've made is the ISO 9002 standard in the ork community [a very haughty thing to say...oops]..but hey of course there are many ork generals out there who had built and converted from some airplane kits and perhaps they are better than mine even! Please show them to me !

But for the mean time, this is MINE! WAAAAGH!!~

But for those who don't like to scratchbuild, bash or convert and all that hassle, please buy the offical GW Ork Bommer! Its packed with loads of stuff, and you'll have lotsa left over bits for you to build more!

Now the kit I used is this 1/48 Mig:

It had all the right shapes and curves that screamed "ORK" all over, but the rounded wing tips needs to go.


I squeezed in a Ork body and head into the cockpit with arms or legs but these covered up nicely when you paint everything black and its just his head sticking out.

I then added "teeth" on the front exhaust intake, and scratchbuilded 6 supa shootas.

This was a fairly easy build, I added lotsa rivets and plates here and there, and I shifted the wing tails up to the top of the rudder, the tubes are from bendy drinking straws, and some plastic plates are added :


Some red paint job later :


The ork army is IMHO the only one that allows some humor on your models..bad spelling like FEW [Fuel] and kill tallies, and this jet even has a PEE tube ..LOL


Thanks for viewing..this is now on the runway, ready for take off!!
 
WAAAGH!! ZROOM.......PEW PEW PEW!

Thursday 13 March 2014

Locust Mech

The Locust mech has got to be one of my favourite mechs since the birth of Battletech!

"Borrowed" from Joe Crusher, this mech, originally called the Ostall, became one of the "Unseens", which I believe those diehard mecha-heads will have no problems knowing what is it all about! Was there a popular Battletech novel wrote about some Locust mech pilot's adventures? Hmmm.....


Anyway, I was looking at this correction-tape dispenser the other day and the more I look at it, the more it is screaming in my head :" USE ME ! I AM YOUR DESTINY OF A MECH!"

At a dollar each, failing is a bloody option...

And then there was 2 empty dental floss dispensers (I have good oral hygiene...lol) from my bitz box:


... and adding all the parts together, they seem alright and asking for a challenge to my somewhat mediocre scratchbuilding skills..so here it goes!

PREPARATION:


Keyword : Research, research, research. Look at pics. Lots of pics. Make sketches, think how some common parts you see daily can come together, etc HELPS A LOT.

EQUIPMENT :


I think any modellers / scratchbuilders will have all the common equipment here: plastic glue, cutters, files, bits, paperclips (for pinning), pliers, scissors, pipcutter, plastic pipes, rods, etc of various sizes... and the trusty hand drill with various bits for pinning, drilling holes.

Some preparation work is needed, you need to sandpaper or file the plastic surface so paint / glue will stick better and Pinning always helps!

Some plastic rod were pinned and glued to the dental floss containers:


One thing learnt is measuring helps! This ensure when you are building the other side [Right and Left] are consistent...


I was pretty random at this point onwards, from the legs, I added a piece here, a bit there...hoping the overall feel resembles the real deal...If I were to build another, the joints could have been thicker..so...
 
 
After I got all the important parts, I hold them together for a dry fit, this part is necessary as you get a rough guide on how the overall mech will look like and I wanted it to be able to stand ON ONE LEG just like the one in the classic pic!


What the hell was I thinking?! So I shifted the weight here and there, added 2 rocket launchers to each side. Then I glue all the parts together and glue it on a square, 1mm plastic base, and.....
 
 
TADA! It actually balances! PHEW! The left foot was glued to a square black plastic base while the right foot claw's back claw was only touching it, so I added a dab of glue to adhere it to the base too, so the weight distribution is better.
 
This didnt really look 100 % like the original, but I was glad it's pretty close...
Onwards to adding small details, undercoating and paint later !
 
Thanks for viewing!


TO BE CONTINUED
 
Update: it is painted and done! Would you like to know more?


Monday 2 September 2013

SAM Station from Common Household Items

Its been awhile since I've posted something, so I've been busy building a 20mm African warlord force and somec mechas for Future War Commander. They are in need of some AA [Anti Aircraft] battery, so.....

Anyway without all the BS, here it goes :

Some pill boxes from the local discount store :


And some thumb tacks with plastic buttoned heads, these act as the "radar dish" in front of the SAM station:

Some bases with plastic wall hooks were used as the base, and they were glued together:
 
 Some Hasegawa Aircraft Weapons 1/72 missiles were used:


 and these were attached to the sides, with some pinning work to toughen it:

 
IMPORTANT:
You MUST use either a fine sandpaper or file to roughen up the surface of plastics, especially the pill boxes so prep them for painting, otherwise the paint wont stick!
 
PAINTING:
 
I gave them a coat of black undercoat, followed by Vallejo's Violet brown and a mixed of bone white, followed by highlight to bonewhite to bring out the details.
 
I will give them a gloss coat and flat spray later to protect the paint from chipping, and viola ! 3 SAM stations ready to take down the good guys / or bad guys / or some other flyers...hee hee...Here they stand next to some 20mm WW2 German soldiers give a dark african skin tone paint, essentially African rebels.
 
These SAM stations can also be easily used on 15mm or 28mm. So I find them quite useful and adaptable.


Tuesday 30 October 2012

Ogryns from Ogres

Originally published in plamo in 2009 and Warseer in 2010, reproduced with some minor editing here for your reading pleasure : )


Anyone who play the tabletop version of Warhammer 40K [made famous ala Dawn of War] will know about the Imperial Guards..have started this game waaay back when I was in highschool [20+ years lor..so now u know I uncle level one..hehehhe..

why..what's wrong..here alot of uncles one ok?!... = =!!]

Ogryns are basically the 40K versions of ogres, only called abhumans who are not so clever, but nevertheless recruited by the Imperial Guard to fight wars against Chaos [or Xenos ..ala Aliens..the fluff is so thick, novels and novels are written about them..so will not go into 40K literature...

The official ones are metal and costs 11.25 pounds [about S$23] EACH..so a squad of 6 will cost u like $138!!  Update : They cost more now, dont they?

So, in the modelling community, folks who dont wan to blow their noses and their wallet [so they can spend on their children la, dog la, mistress la..oops..u get wat I mean]

Anyone interested can go to their website to learn about it...

Do you want know more?
Games Workshop

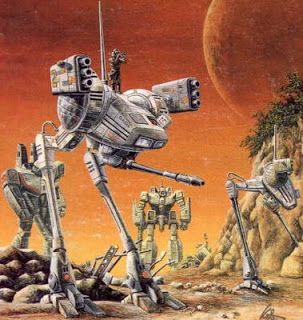
Anyway a pic of the box [note box art copyrighted by Gamesworkshop]

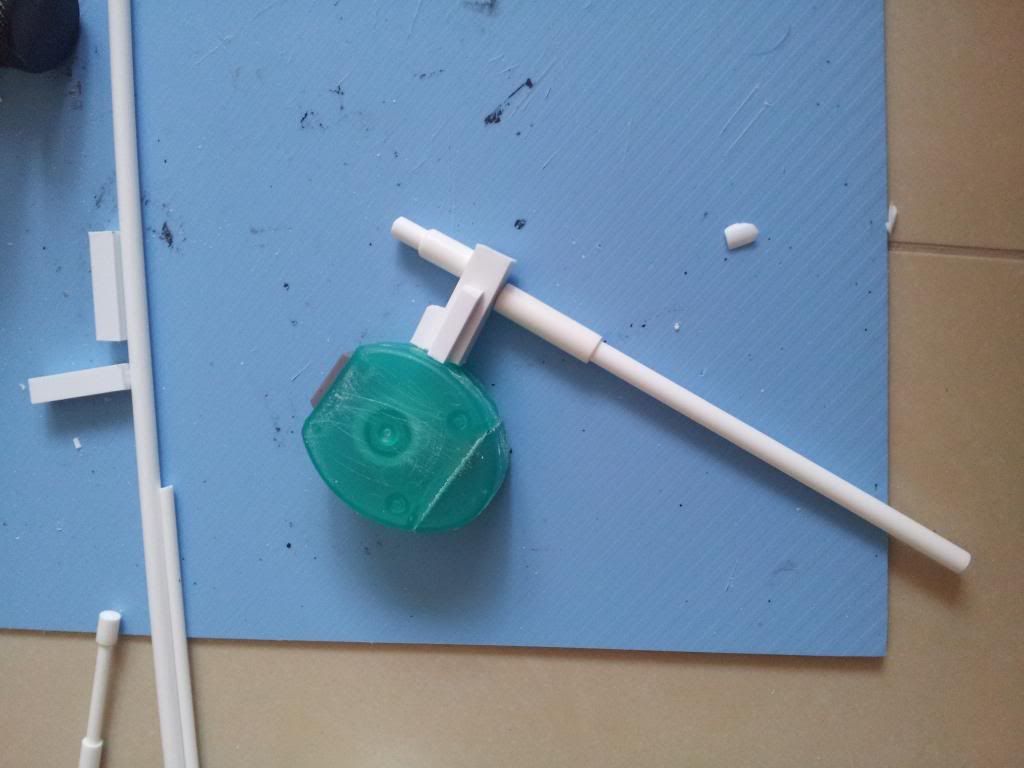
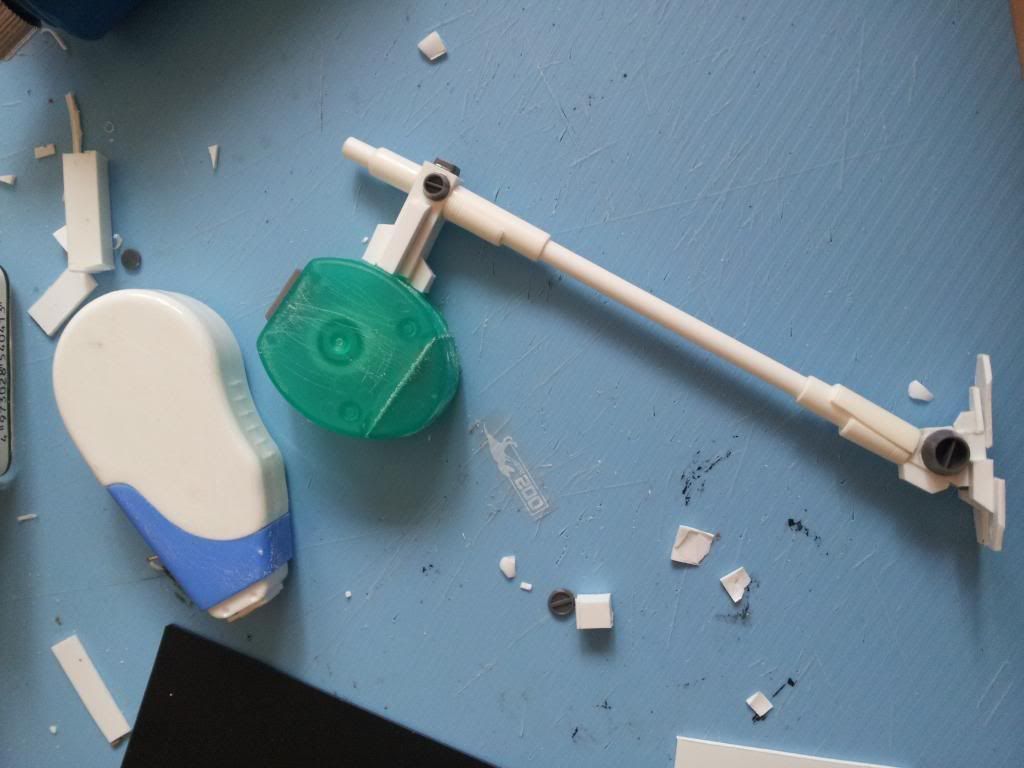
First, I need to make ripperguns for the 6 fellas..

[Ripperguns are sturdy, easy to use automatic shotguns so Orgyns can just aim in some general direction - the enemies'..and like the old saying goes..if u keep shooting, maybe you'll hit something...]

 
This is the body of the ripperguns...made from plastic rods and plastic blocks...repeat 6 times later..u either one to shoot yourselves..or just go buy the real deal...]Em112

 
One thing about scratchbuilding and/or kitbashing is your bitzbox [the box where u have spareparts] must be sipeh "bah" [translation : very enough]...
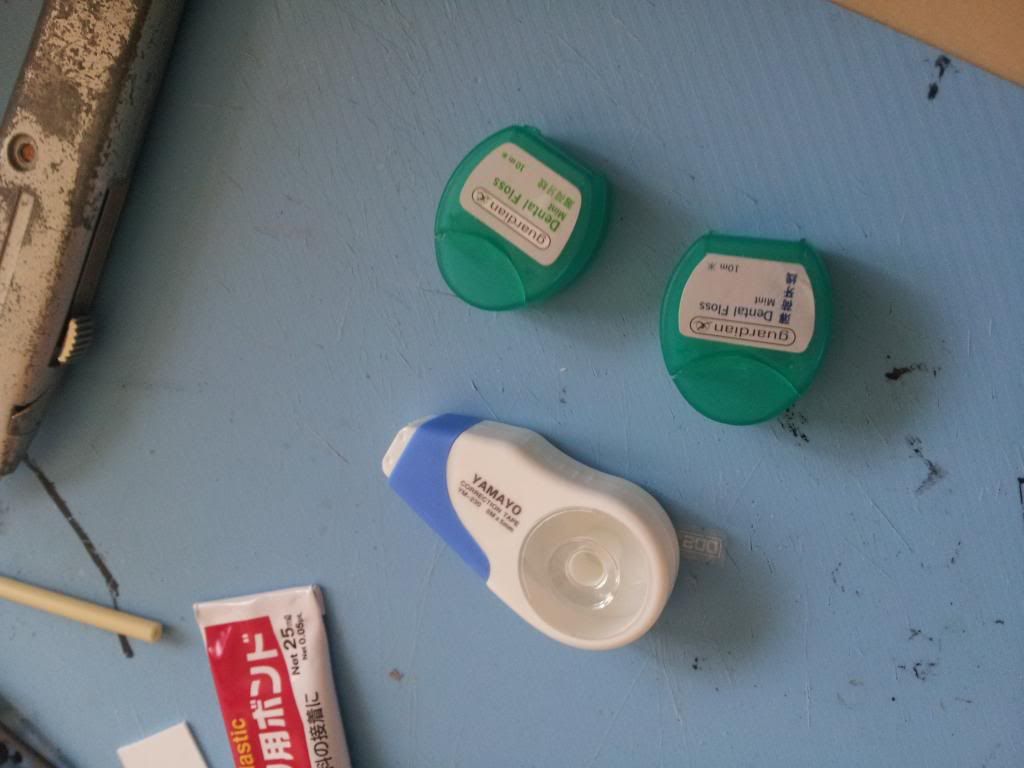
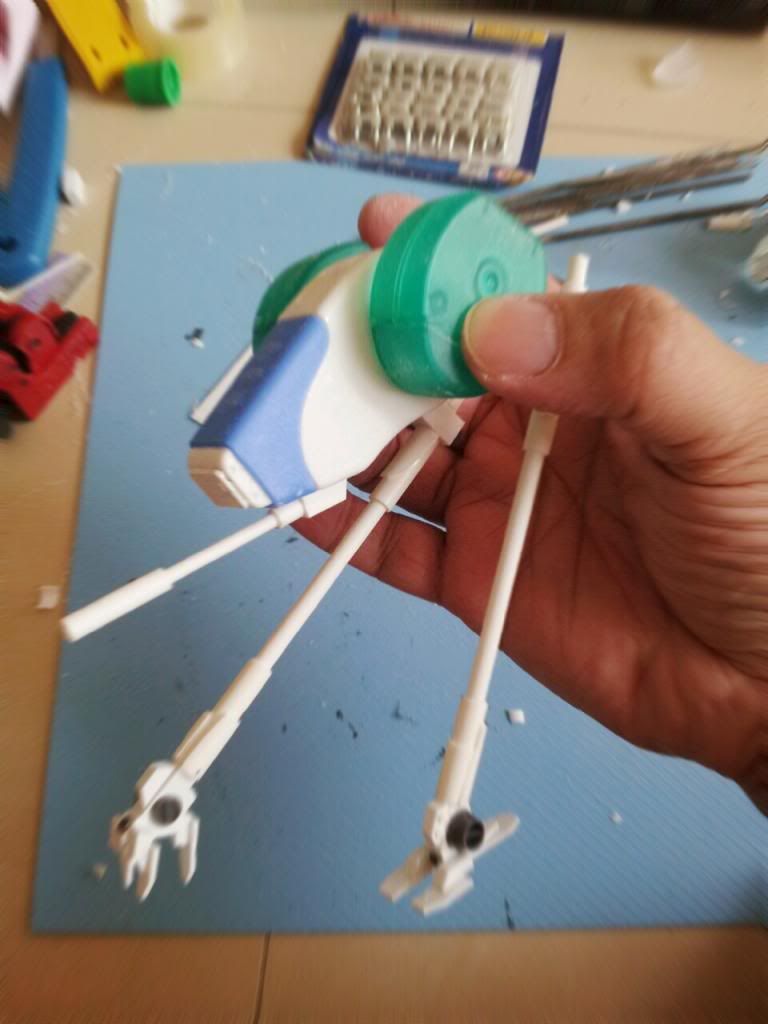
The ammo drums are stolen from a wrecked LVTP..
It has 20+ of the wheels..heh heh..but never fear, the APC is not wasted..it has some other projects...
Included below are some rough plans for anyone interested in scratchbuilding their own ripper guns:


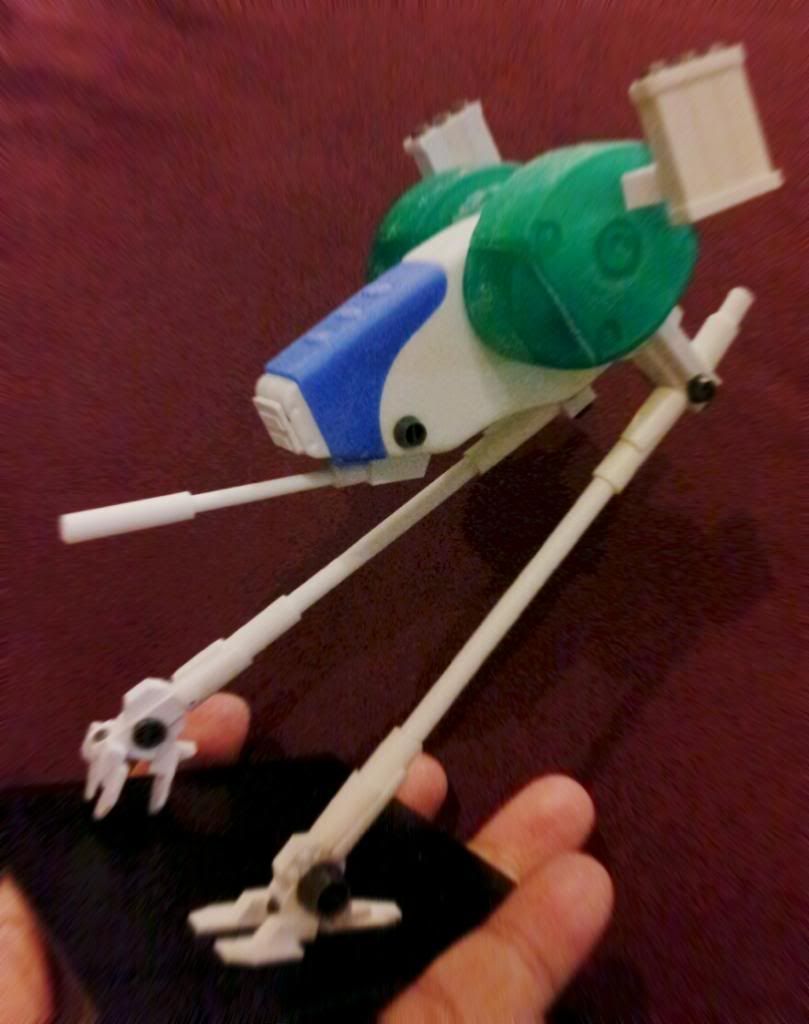
Conversion of the ogre body..
 
Added plasticard as armor plates..in the community it's called "40K-fy"...
 
Backviewof one of them..with ammo pouches added..
 
PAINTING:

The first completed 2 are painted as trial...
The Back view..the one on the right was pale flesh with a flesh wash..the one on the left was layered with dwarf skin tone and highlights AFTER the wash..so the effect is better.. The grenades are scratchbuilded..the red one is Krak and the green one is frag [one got better armor penetration, one got a blast radius but lesser kill effect...go figure..both have it's own use in the tabletop game]

Berets are made from green stuff...spare shotgun shells lined the bandolier are plastic rods with just some gold paint at the lower part of the shell.
 
After painting all of them, these palm-sized dudes are ready to roll into battle..recommend using Vallejo Game Colors as the adhesion is better, so the paint dont wear off too easily [yes..it still WILL chip if yr wife scratch it with her freshly manicured nails....]


Who says only Orks smokes Cigars??

The squad leader [known as the Bonead or Bone head], as he is a little bit smarter [know how to use binoculars]....

"FRAG the fraggers! Now!~"

"Er..boss!!!, is it da red one..or da green one?" [bullets rechocheted on the sides of the wall..going Whoop whoop whoop against the mudwalls and plazinc walls...]

"*%#&^$!!.. DA GREEN ONE!!!!!"

....and his men went ahead and threw the red ones anyway.

Scratchbuilding a Hydra Flak Tank

This was done a few year back, luckily I managed to rescue most of the pictures from Imageshack!

Here's some of the WIP and completed pics, its very tough because of a lot of repetitive work involved, but the results are satifying as hell!

You'll need a chimera or basilisk kit and....

You need lotsa plastic rods, lots and lots of plastic rods [and placard]:


The radar dish is a magnet button actually!
 
 
The Completed Hydra :