Saturday 22 March 2014

Locust Mech - Painted and Done! (continued) ....

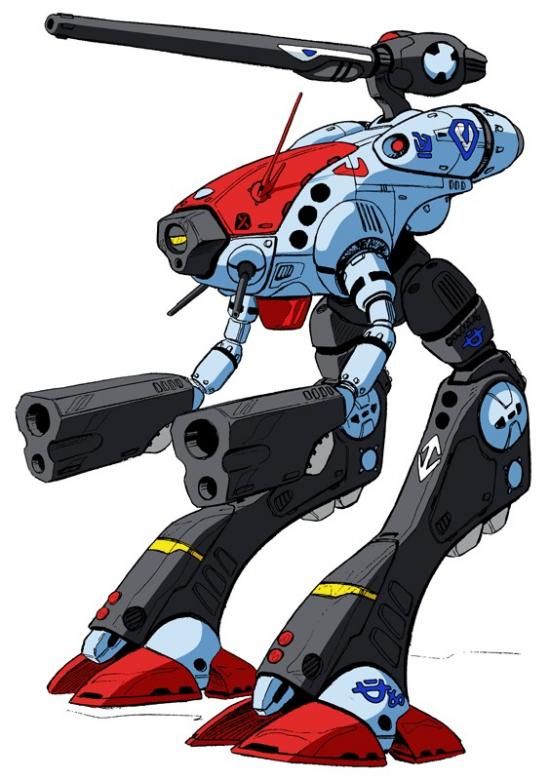
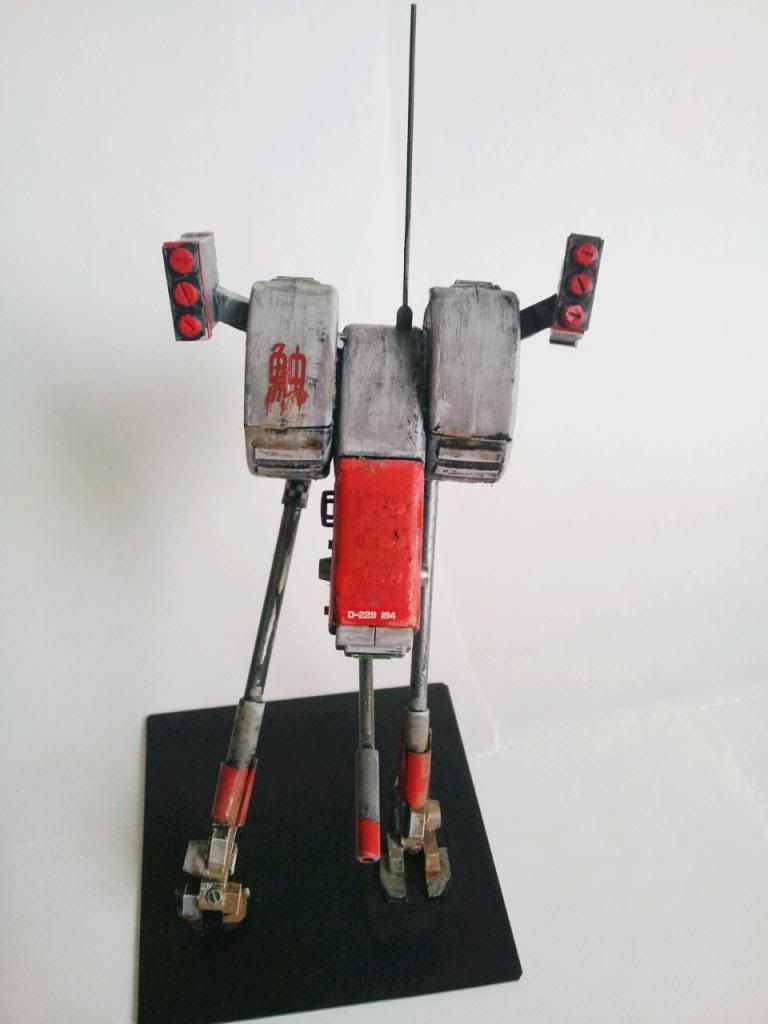
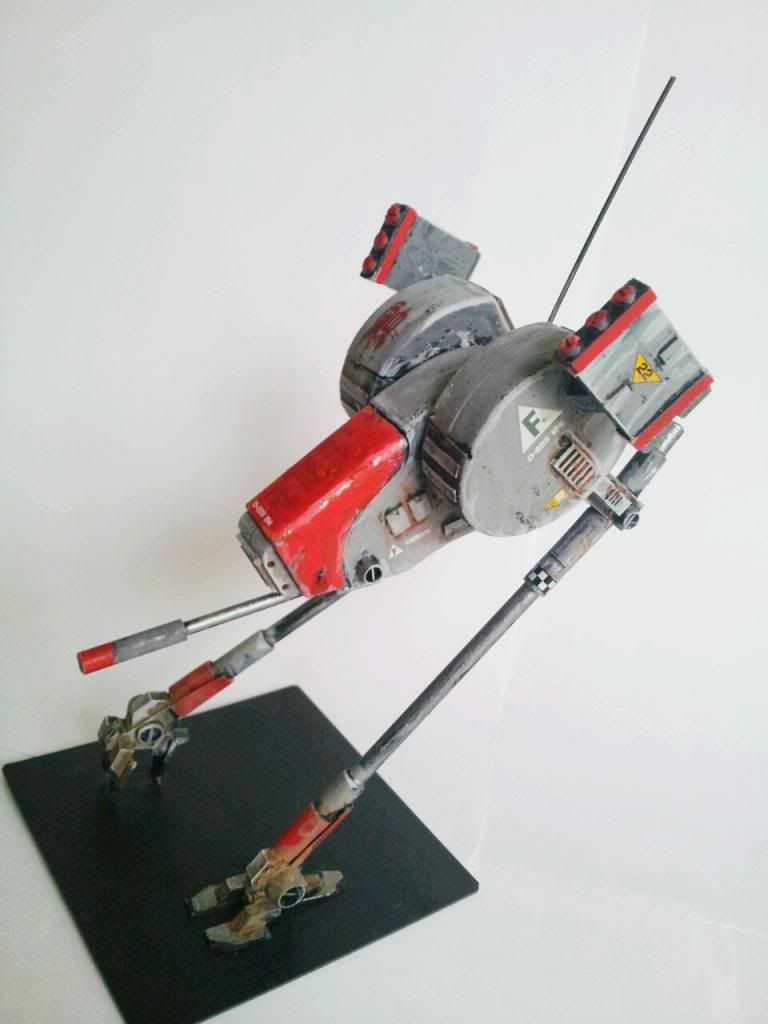
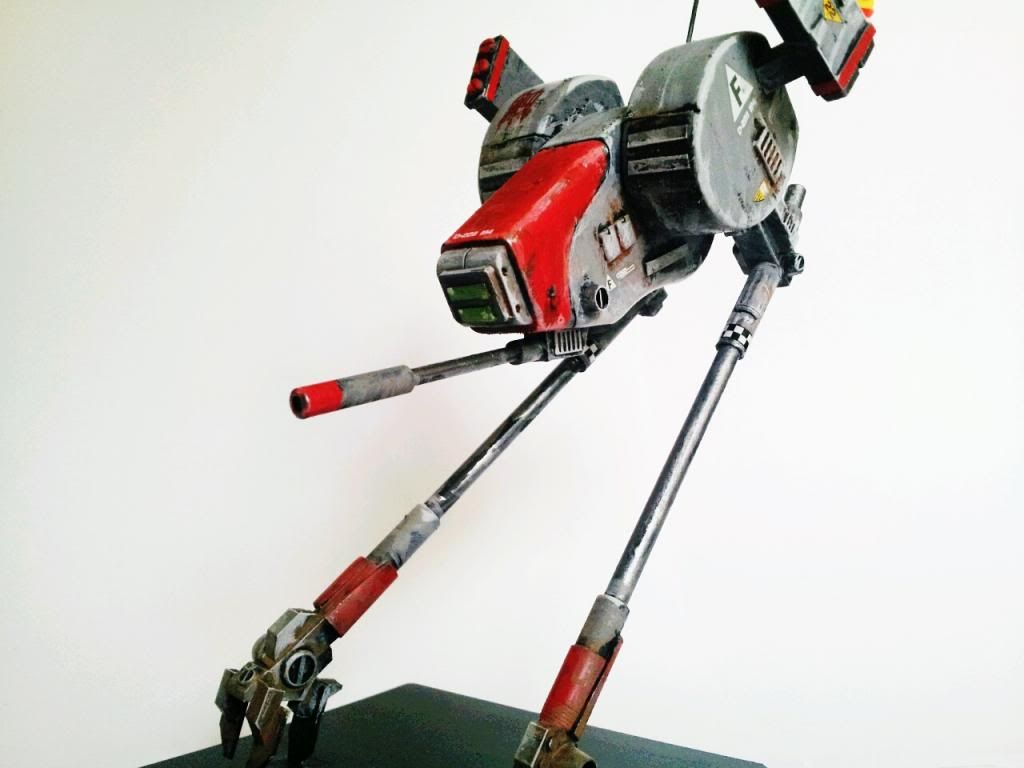
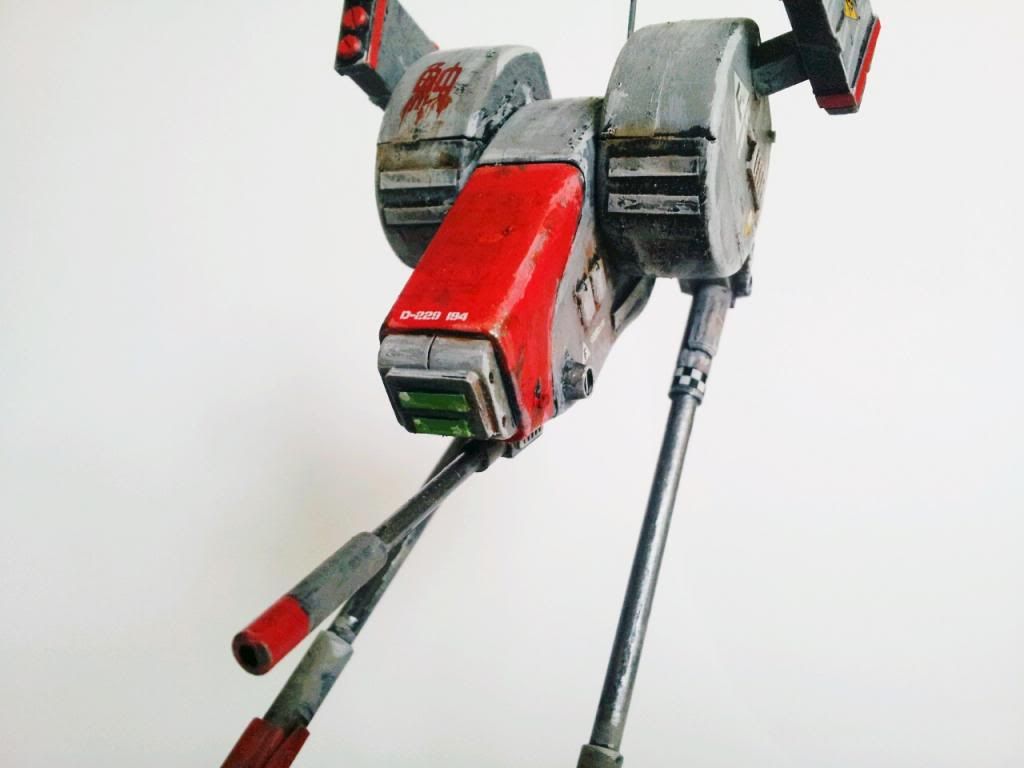
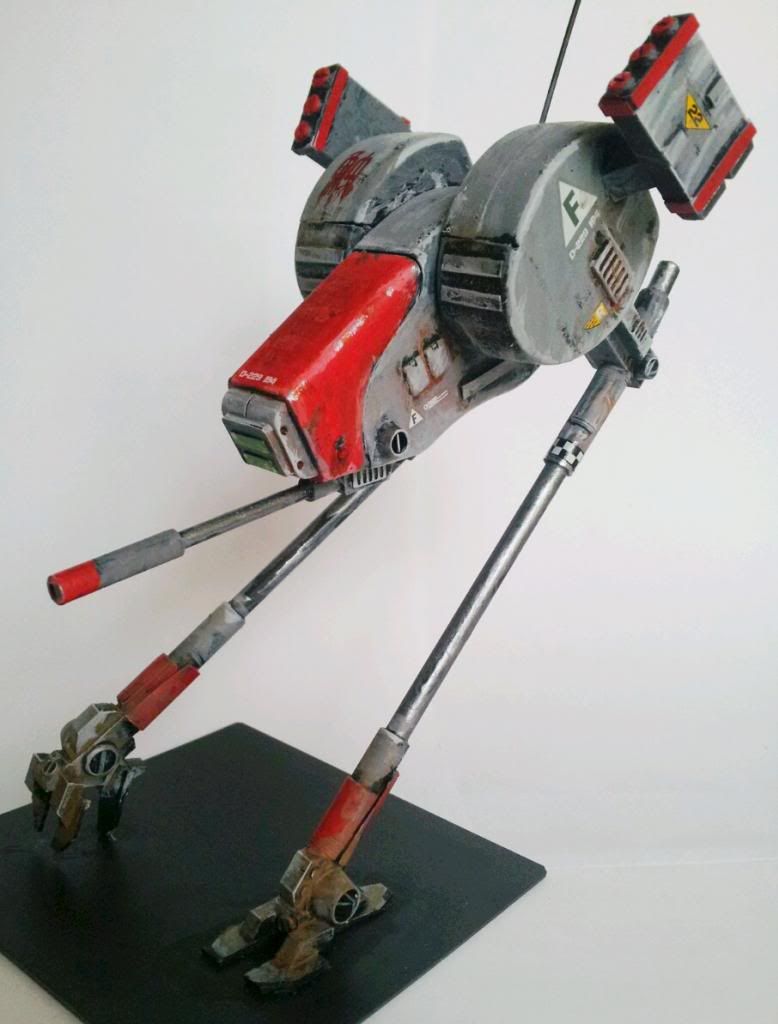
.....after finally putting everything together, I finally decided on this paint scheme, which more or less pay tribune to the original Macross Glaug / Robotech Officer Battlepod's red / grey scheme (er..okaay..you can say copied...LOL) : 


Initially I was thinking of a camo-green or desert scheme, but I guess I will have to postpone it until I managed to build another one..

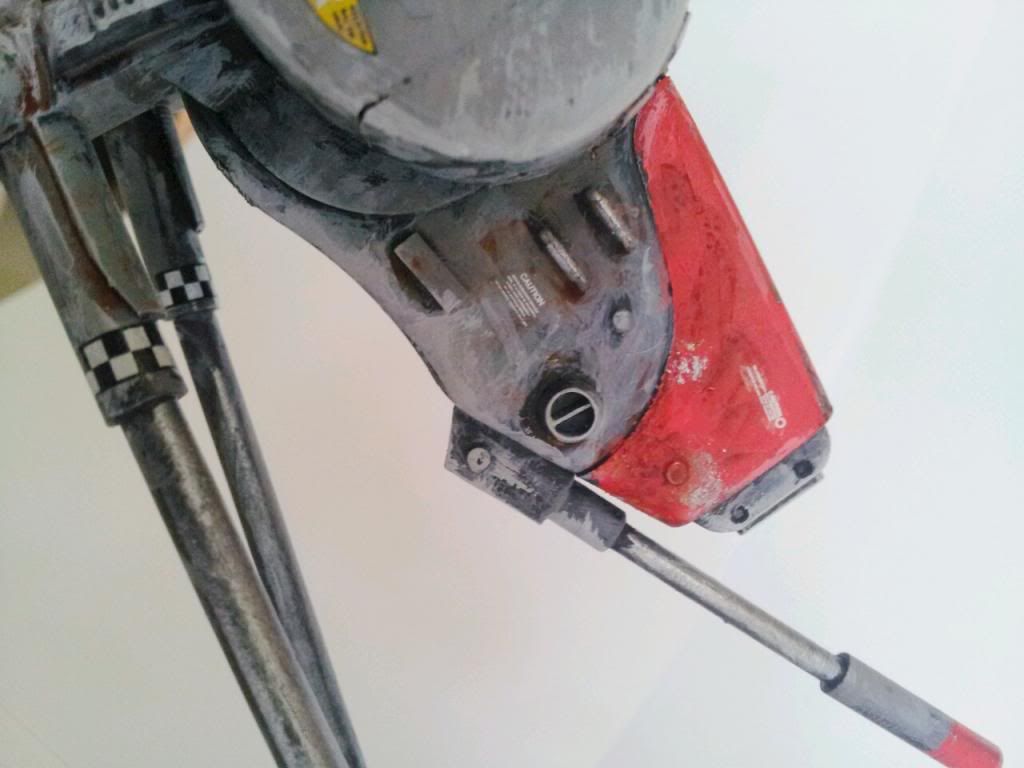
Decals added a finer level detail to it, with a few tiny weeny "CAUTION ...Technical blah blah" here and there.

 
I am really proud of the foot railings I added to the right side of the Locust, I reckoned somehow when the pilot climbs out of the hatch, he has to slowly descent to the side and has somesort of tow cable to slowly lower himself down to the ground or, if you prefer, the traditional 10-metre, Anime jump [in and out of the mech] for you guys who are into the "Ninja Space Robot" kind [add some disco music on the background please]......LOL


The decal on the right shoulder is from a leftover M.ak. kit,, not sure whether there's a chinese word for it, but in Japanese it probably means "shark" or some fish...the decal broke but I smear some paint below to hide it and it kinda pulls off as weathering / battle damage....


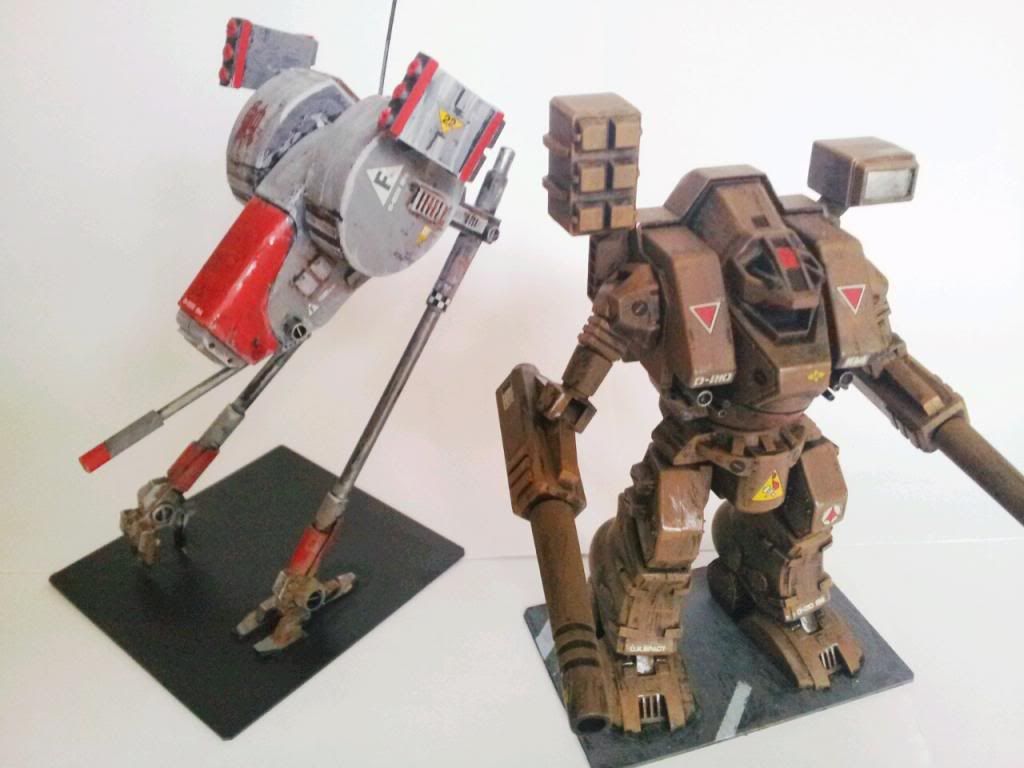
and here with his buddy, the Warhammer !
 
 
thanks for viewing!

If you missed the making of the Locust Mech, you may click here :

Making the Locust mech from scratch


Cheers!


Thursday 13 March 2014

Locust Mech

The Locust mech has got to be one of my favourite mechs since the birth of Battletech!

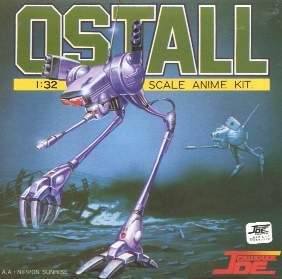
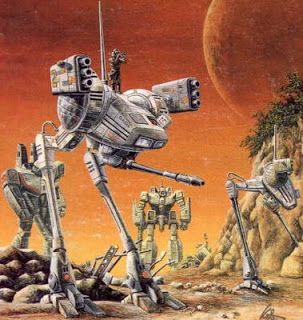
"Borrowed" from Joe Crusher, this mech, originally called the Ostall, became one of the "Unseens", which I believe those diehard mecha-heads will have no problems knowing what is it all about! Was there a popular Battletech novel wrote about some Locust mech pilot's adventures? Hmmm.....


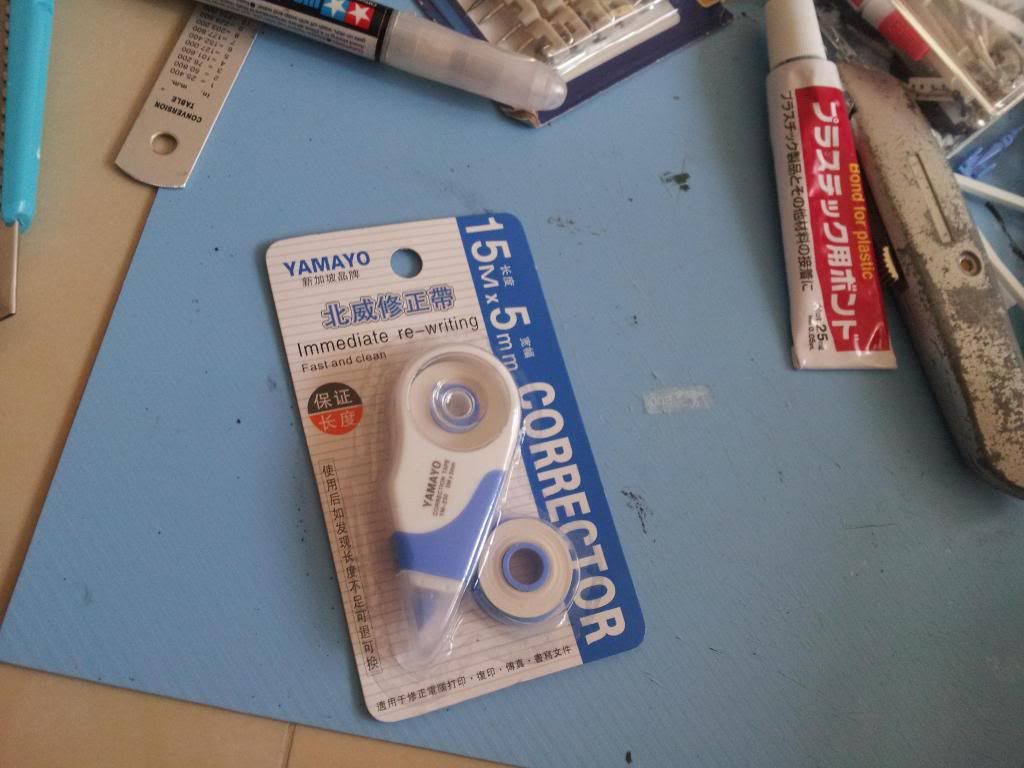
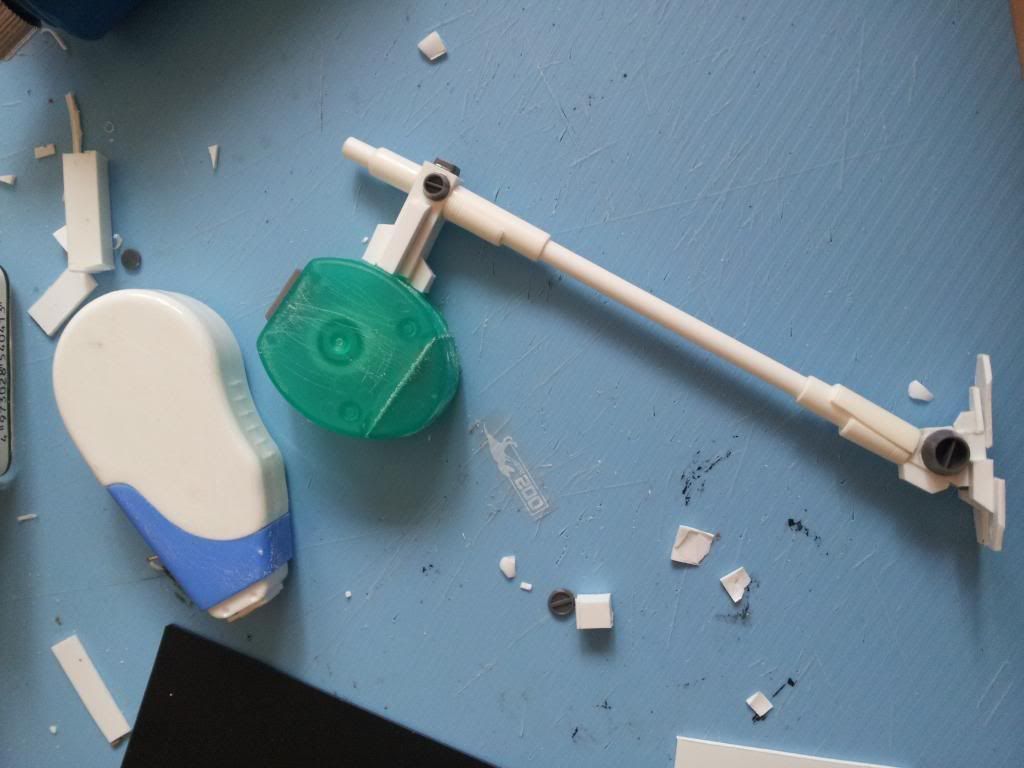
Anyway, I was looking at this correction-tape dispenser the other day and the more I look at it, the more it is screaming in my head :" USE ME ! I AM YOUR DESTINY OF A MECH!"

At a dollar each, failing is a bloody option...

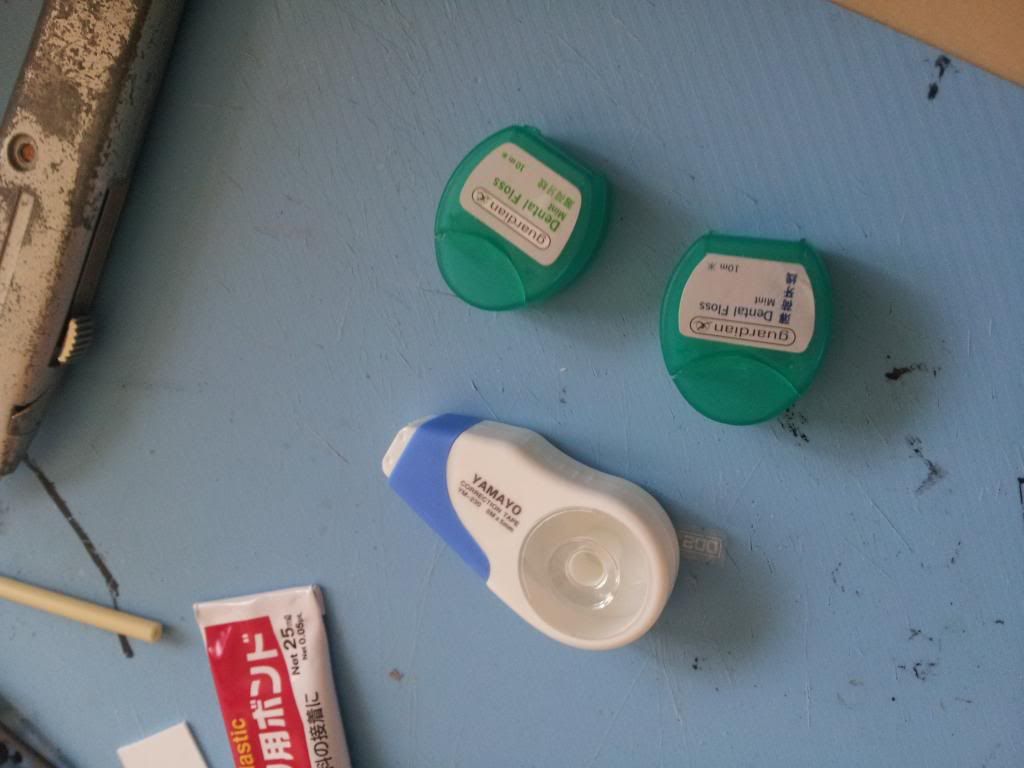
And then there was 2 empty dental floss dispensers (I have good oral hygiene...lol) from my bitz box:


... and adding all the parts together, they seem alright and asking for a challenge to my somewhat mediocre scratchbuilding skills..so here it goes!

PREPARATION:


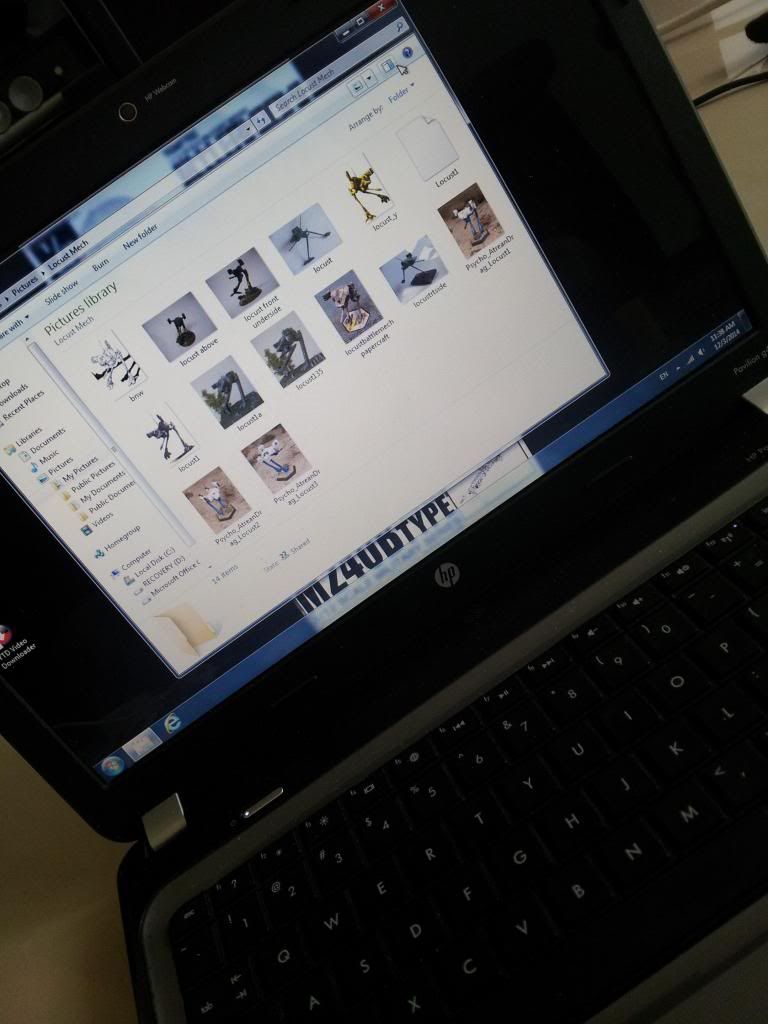
Keyword : Research, research, research. Look at pics. Lots of pics. Make sketches, think how some common parts you see daily can come together, etc HELPS A LOT.

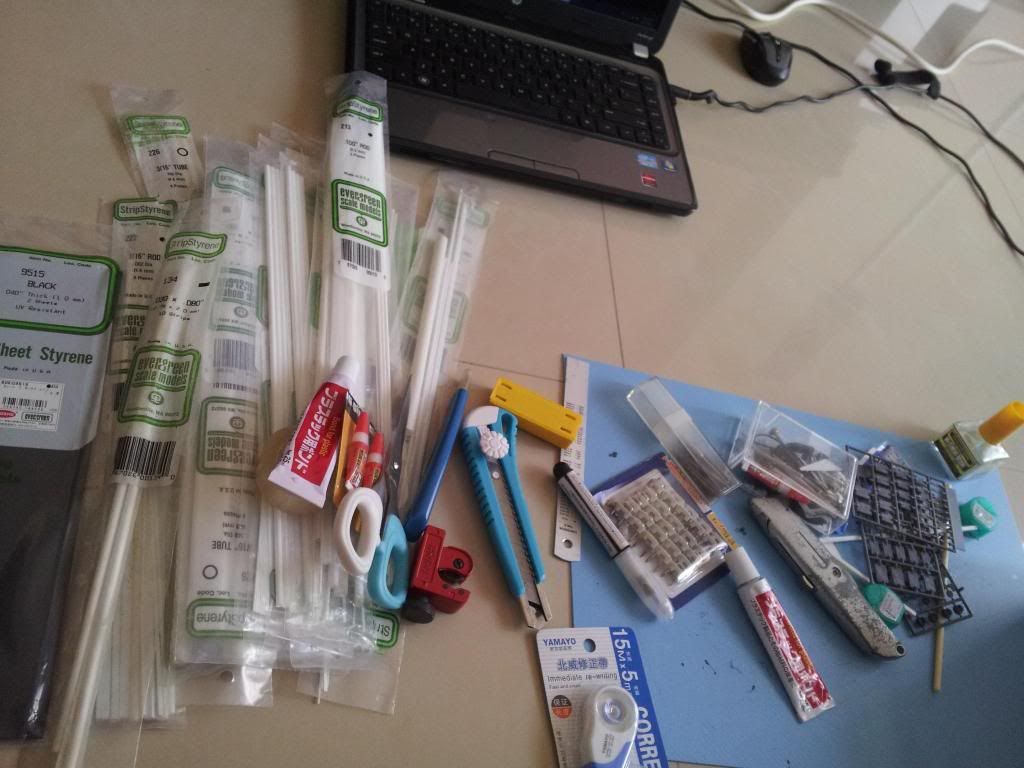
EQUIPMENT :


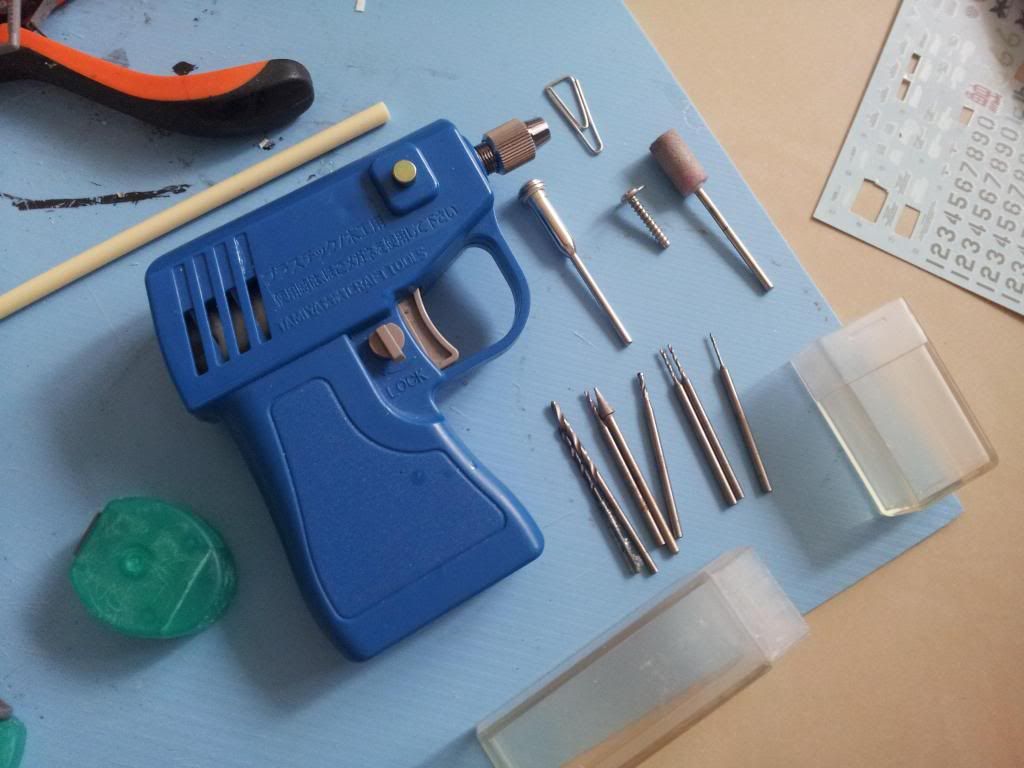
I think any modellers / scratchbuilders will have all the common equipment here: plastic glue, cutters, files, bits, paperclips (for pinning), pliers, scissors, pipcutter, plastic pipes, rods, etc of various sizes... and the trusty hand drill with various bits for pinning, drilling holes.

Some preparation work is needed, you need to sandpaper or file the plastic surface so paint / glue will stick better and Pinning always helps!

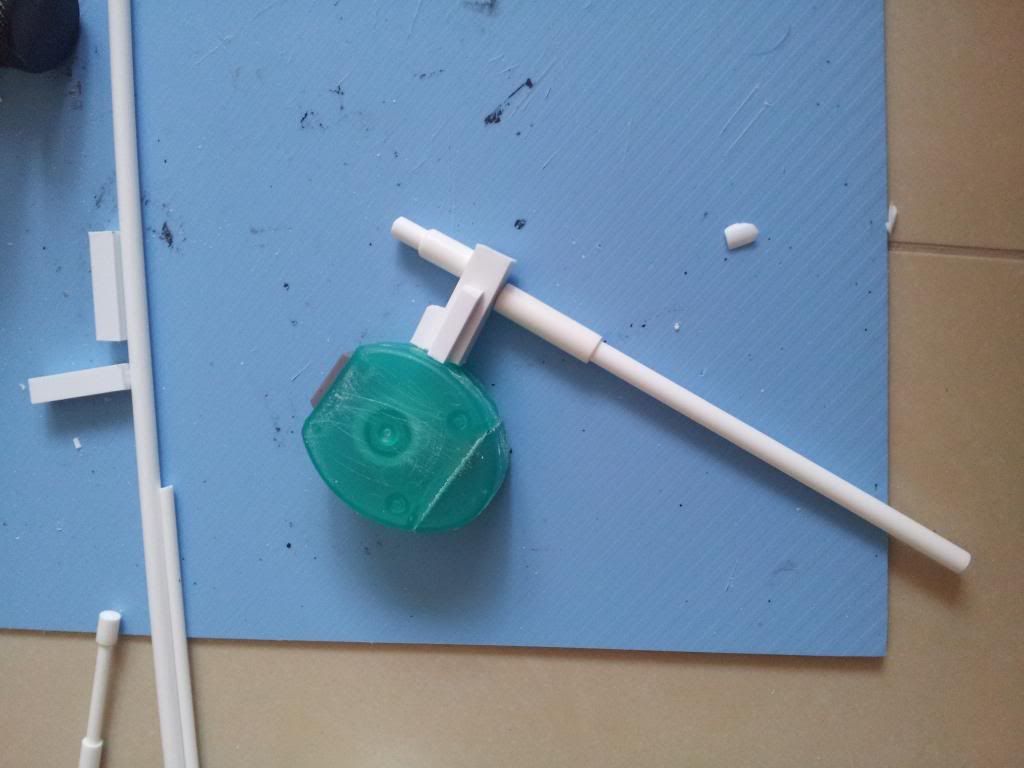
Some plastic rod were pinned and glued to the dental floss containers:


One thing learnt is measuring helps! This ensure when you are building the other side [Right and Left] are consistent...


I was pretty random at this point onwards, from the legs, I added a piece here, a bit there...hoping the overall feel resembles the real deal...If I were to build another, the joints could have been thicker..so...
 
 
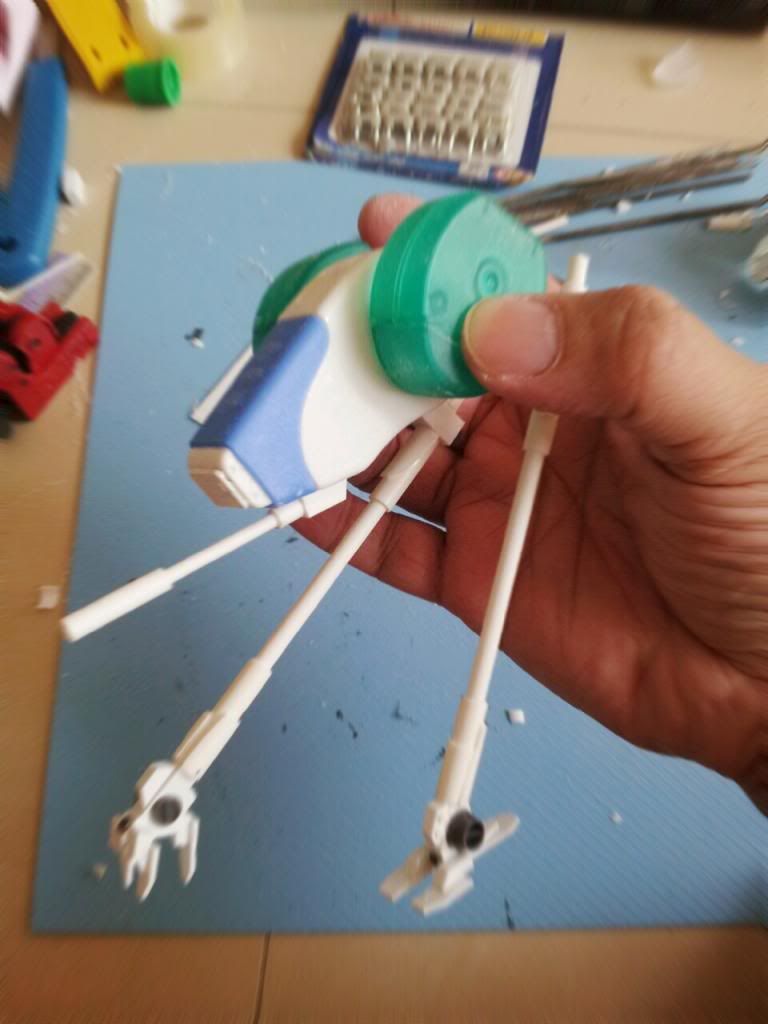
After I got all the important parts, I hold them together for a dry fit, this part is necessary as you get a rough guide on how the overall mech will look like and I wanted it to be able to stand ON ONE LEG just like the one in the classic pic!


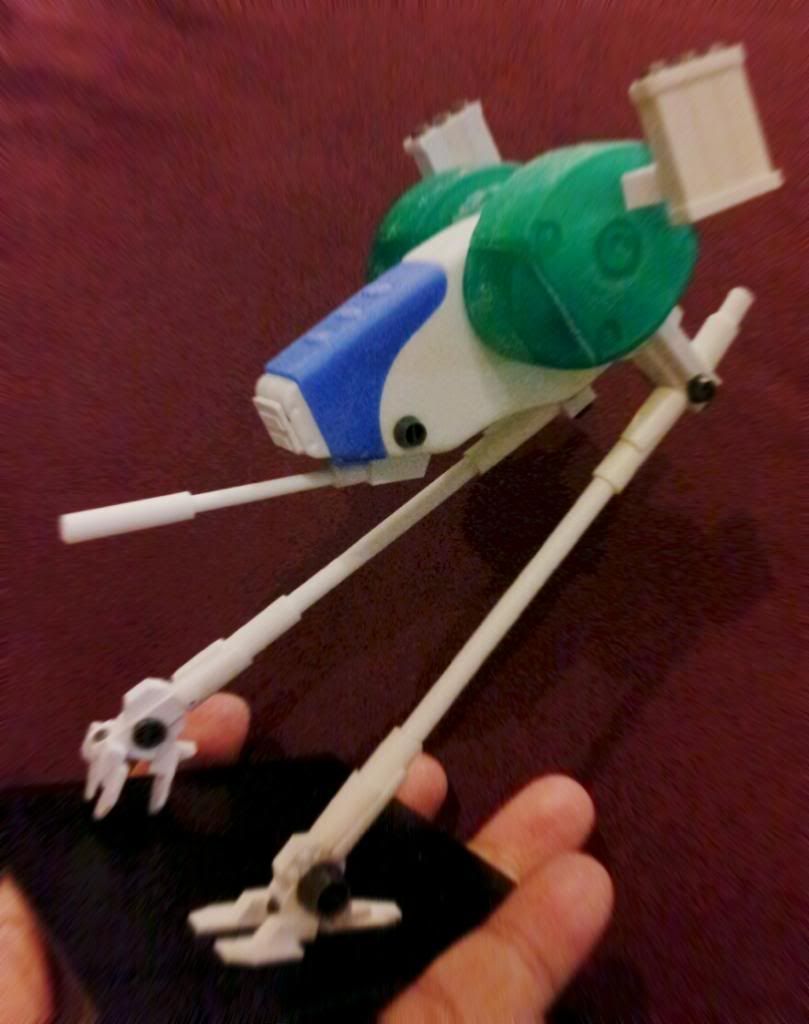
What the hell was I thinking?! So I shifted the weight here and there, added 2 rocket launchers to each side. Then I glue all the parts together and glue it on a square, 1mm plastic base, and.....
 
 
TADA! It actually balances! PHEW! The left foot was glued to a square black plastic base while the right foot claw's back claw was only touching it, so I added a dab of glue to adhere it to the base too, so the weight distribution is better.
 
This didnt really look 100 % like the original, but I was glad it's pretty close...
Onwards to adding small details, undercoating and paint later !
 
Thanks for viewing!


TO BE CONTINUED
 
Update: it is painted and done! Would you like to know more?


Monday 21 October 2013

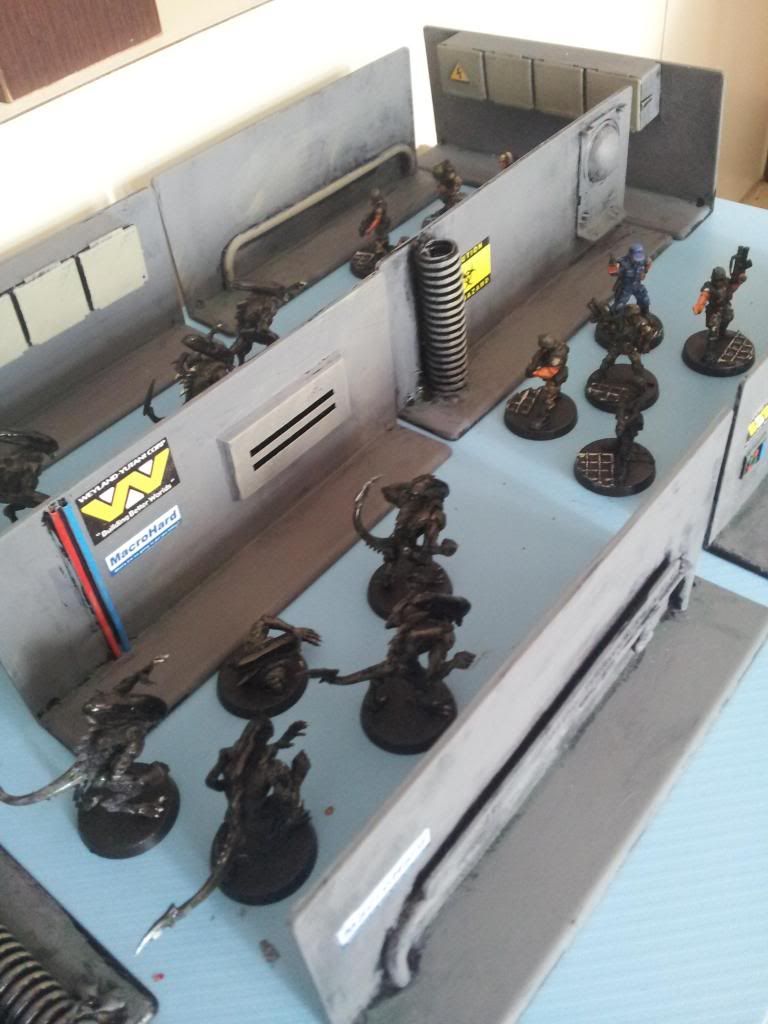
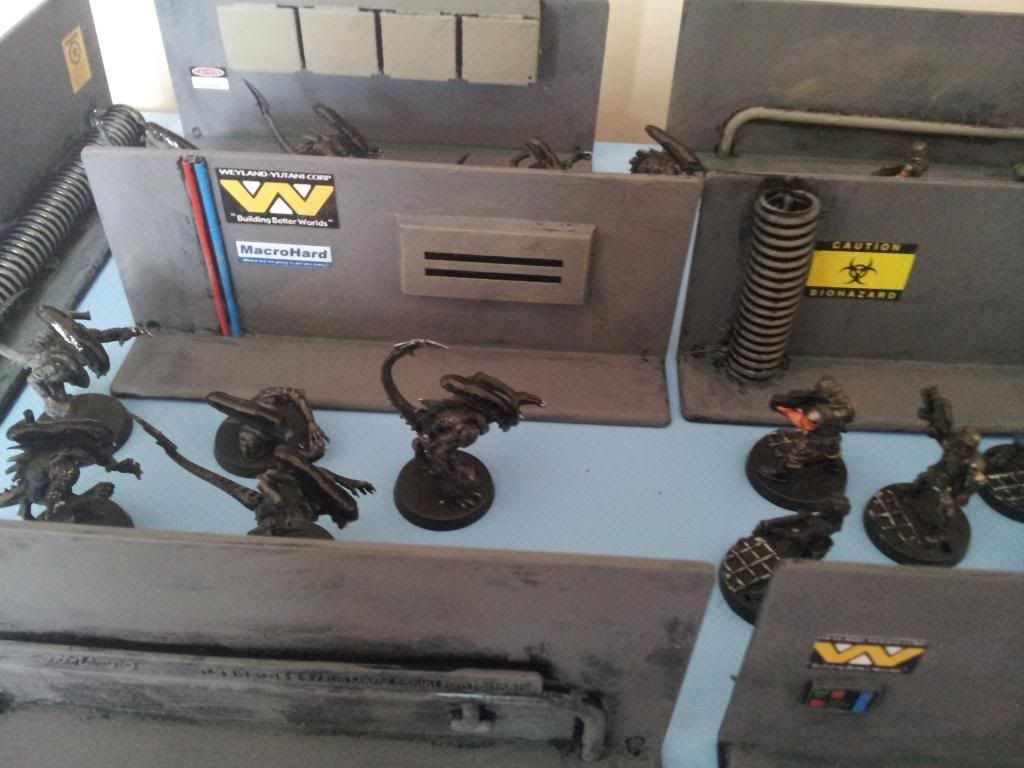
My Aliens vs. Colonial Marines Project - Corridors, Corridors Corridors...

Those corridors....

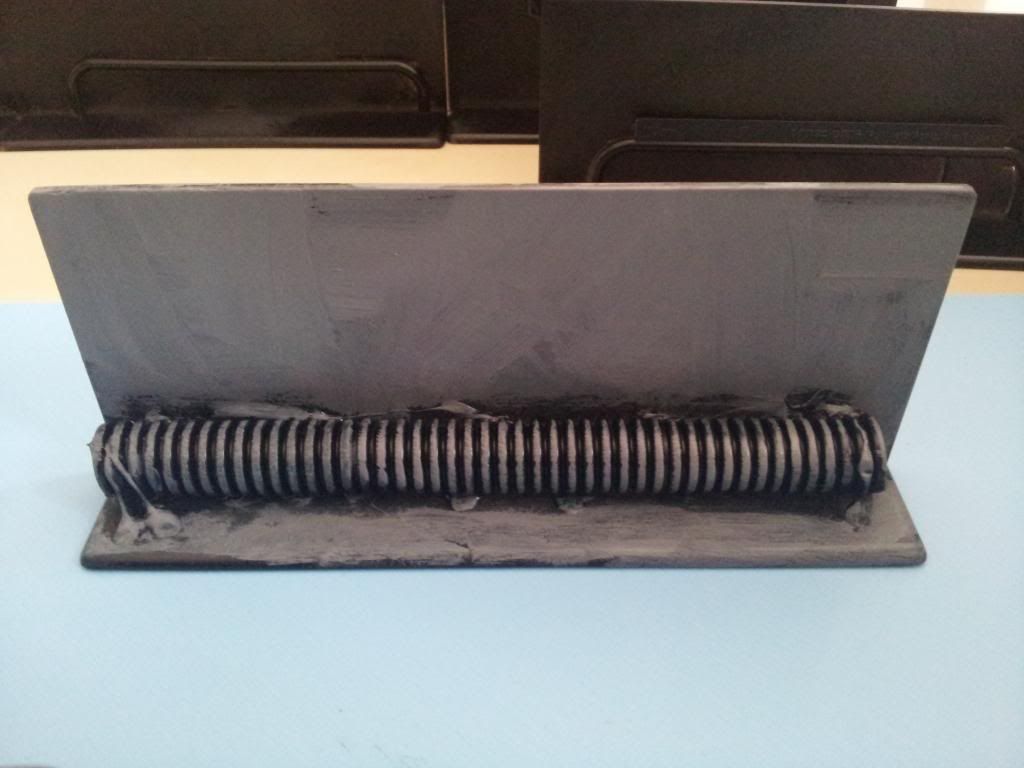
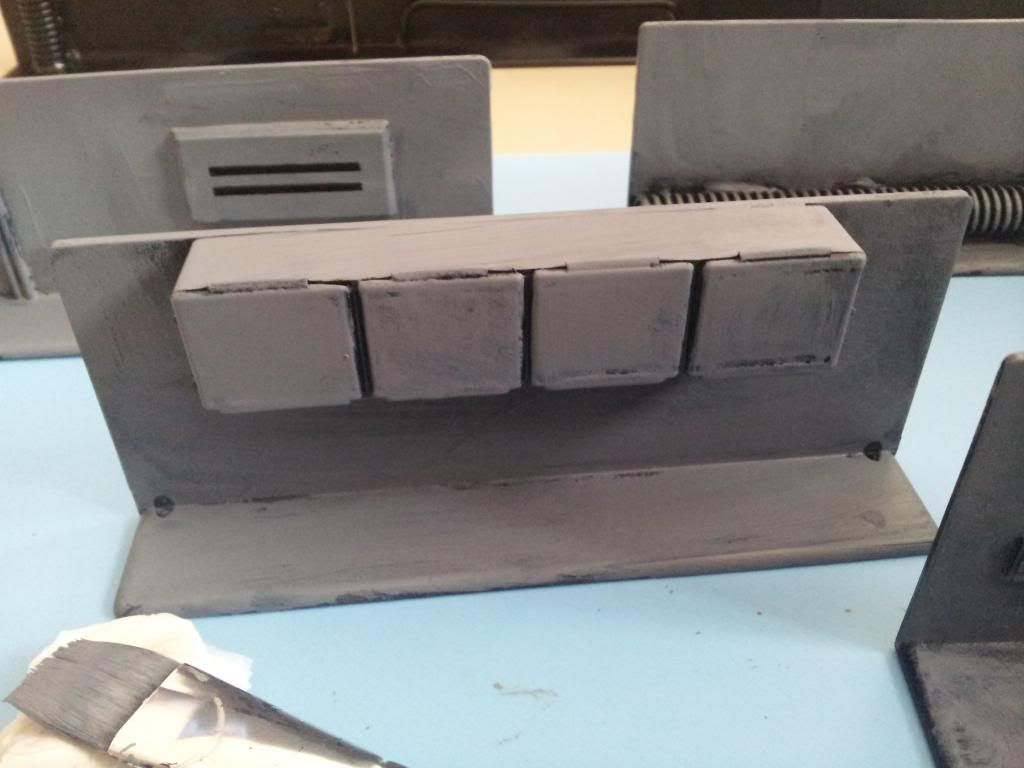
I needed cheap, effective walls to form up corridors and walls for LV426, or some other interior corridor scenarios for my marines to run around and get chased by Aliens, so after looking around there is these packs of plastic office drawer dividers which are of the good choice, they come in 3 pieces in a pack for about SGD2 [about USD1.60 at time of writing] so I bought bunches of them.

I polished /filed them with a fine grade sponge file to roughen up the surfaces so the black undercoat paint will stick later.

Bits are then glued on it from coffee-stirers resembling pipes, insulation pipes, bases and pill boxes to represent cabinets, drawers to break the monotonus, boring walls.

I will do a bunch with "Aliens infestation" with more tubes, gooey stuff and a victim hanging on the walls here and there later.

After the black spray paint, I drybrushed them with cheap acrylic grey paint from an artist supplies shop [a large, toothpaste tube can last very long and ensure conssistency in paint colours for all the corridors]:


I then search for suitable signs, logos and printed them out in paper, then stick them on the corridors using PVA glue.

"Alright, I want a nice, clean dispersal this time." - Apone


"Yo Hicks...I think we got something here. It's coming straight for us...Straight up." 
- Frost


More to come, thanks for viewing! Comments welcome too!

Monday 2 September 2013

SAM Station from Common Household Items

Its been awhile since I've posted something, so I've been busy building a 20mm African warlord force and somec mechas for Future War Commander. They are in need of some AA [Anti Aircraft] battery, so.....

Anyway without all the BS, here it goes :

Some pill boxes from the local discount store :


And some thumb tacks with plastic buttoned heads, these act as the "radar dish" in front of the SAM station:

Some bases with plastic wall hooks were used as the base, and they were glued together:
 
 Some Hasegawa Aircraft Weapons 1/72 missiles were used:


 and these were attached to the sides, with some pinning work to toughen it:

 
IMPORTANT:
You MUST use either a fine sandpaper or file to roughen up the surface of plastics, especially the pill boxes so prep them for painting, otherwise the paint wont stick!
 
PAINTING:
 
I gave them a coat of black undercoat, followed by Vallejo's Violet brown and a mixed of bone white, followed by highlight to bonewhite to bring out the details.
 
I will give them a gloss coat and flat spray later to protect the paint from chipping, and viola ! 3 SAM stations ready to take down the good guys / or bad guys / or some other flyers...hee hee...Here they stand next to some 20mm WW2 German soldiers give a dark african skin tone paint, essentially African rebels.
 
These SAM stations can also be easily used on 15mm or 28mm. So I find them quite useful and adaptable.


Saturday 16 February 2013

'ERE WE GO, 'ERE WE GO!

ORK WARBUGGY

This was made sometime ago, but I guess I will share it here with some of you guys who had those toy cars lying around, could'nt afford the crazy prices of a GW one, so...

why not build one ?

This used to be a cross country toy car which unfortunately I've lost the pic of it, but any buggy car of about the official size will do. This one has some nice fenders infront and the wheels have those rough ridges which is nice and screamming WAAAGH all over...keke

The original body of the vehicle had a metal frame, which I've unscrewed and toss it away, leaving the bottom part with the wheels, which I've cutted it and shortened the body, helded together by hotglue:


SCRATCHBUILDING THE METAL PLATES AND SHOOTAS

First of all, you need lotsa and lotsa plasti rods and plastic cards...er...not really if you know what are the ones you need.

For this project, some 5-10 mm round plastic rods [shoota] , squares and 1-2 mm rods [for rivets] 5-10mm plastic cards [armor plates] will do:


The armor plate infront consists of 4 parts: 2 small squares and the the bigger square in the centre, and finally a long, shorter piece for supporting the 3 pieces together. Rivets were glued at the side [see above].


I made some spare shootas as you will never have enough of dakka...

The design can be simple, as shown above.

THE CREW

My friend gave my some old edition Fantasy Orcs, but rather than let them lying around hidden in some forgotten boxes, they are recycled here:
 
The body of the orc was cutted apart, and arms repositioned.


Glue 2 shootas together, added another Ork gunner behind, and the whole piece was primed black and after some easy paint job, viola! you have a Ork Warbuggy!


The one on the left is a rokkit launcha version, which consists of multiple tubes glued together. Its nice as Ork tech is shoddy, so you can get away if you are not too neat...har har...
 
I've made 3 of these and now they are off to the battlefield ! 'ERE WE GO, 'ERE WE GO!
 
Thanks for viewing !


Monday 7 January 2013

STAR WARS EDGE OF THE EMPIRE RPG REVIEW

 by Fantasy Flight Games

OK its been awhile since I posted something, so just came back from the local gameshop and, how can a Starwars nut not have this?

THE CONTENTS
1 Adventure Book, 1 Rulebook, 1 intro sheet, 1 double sided map, 4 Character folios, 14 Custom dice, 8 Destiny tokens, 35 Character tokens, 5 Vehicle tokens.

This introductory set is decently presented, with a set of colorful custom dice, which takes a bit of getting use to. Each symbol represent Success/Failure, Advantge/Threat, etc. there are 7 dice types altogether, and each are used for their specific functions, there is the Ability die, Proficiency die, Difficulty die, Challenge die, Boost die, Setback die and the Force die.

It is also for beginners who have not touched any RPGS[Role Playing games ] in mind, with easy to follow booklets like "READ THIS FIRST", and "READ THIS LAST", etc...

The art is beautifully drawn but wait, there's no decent chicks?!

Even Oskara the bounty hunter, the twliek on one of the character's folio, seems to want to rip your guts out lol...

The cover art on the box looks "adventure" already, personally I prefer the Invasion of Theed's cover art even though its more "cartoony"...did I say the Jedi chick is cute?

Other than THAT, this is a really nice product, the art is great, and rules are easy to follow.

BACKGROUND

The intro game probably takes place somewhere between Episode 4 - 6, between A New Hope to Return of the Jedi, and had the players all trying to escape the servants and henchmen of a Hutt boss in Mos Eisley called Mos Shuuta, and plans to steal the Krayt Fang, a Millennium Falcon-like YT-1300 freighter from a Trandosan.

The story is nicely interwoven, with Teemo the Hutt as the main boss villain.

 The character folio are stock presented with a good background and layout so players can easily connect to each other and get the game going [and easy for the Game Master].

The hard paper round tokens are useful for beginners, for the old geezers, some Star Wars miniatures are on the way!!
 
SHOULD YOU BUY THIS PRODUCT?


Why not? Even as a proud owner who had the old D6 version West End Games, the Wizard of the Coast minis games, and the D20 ones, the material presented is good although it doesnt allow you to create specific characters, a certain tweak or mod shouldnt be a problem [althought because there's no Jedi characters, you might need to get the core rulebook...] this addition, however is a good, neatly packed Introductory set which will appeal to new and old gamers alike, adding to their collection of their Star Wars RPG.